Helix Ultimate is a well-structured template that we use to build different types of Joomla templates on our website. If you have just purchased a Helix Joomla! Template Framework and want to change the template folder to suit your client’s project needs, don’t miss our blog.
In this article, we will share with you an effective solution to handle this task quickly. Now, let’s check the detailed steps below.
Method to Change Template Folder in Helix Joomla! Template Framework
Step 1: Make a duplicate template by creating a new template folder.
First of all, you need to create a copy of the default template by creating a new template folder. For instance, you are utilizing a template on our website, like LT FazBurger, and want to change the template folder to suit your project name. Now, you need to follow our guide below.
Go to Dashboard > System > Site Template Styles > Click template as the screenshot below.

Next, let’s press the “Copy Template” button.

This will show a popup window where you can give your new template a name. For example, we set it as “simple_template” for our new template folder.

When we click “Copy Template,” a notification with an “installation of the template was successful” will appear.
You now have a new template named “simple_template,” which is just a duplicate of the original template.

After that, you click “Close” to proceed. You can see the newly made template copy by going to System > Site Template Styles.

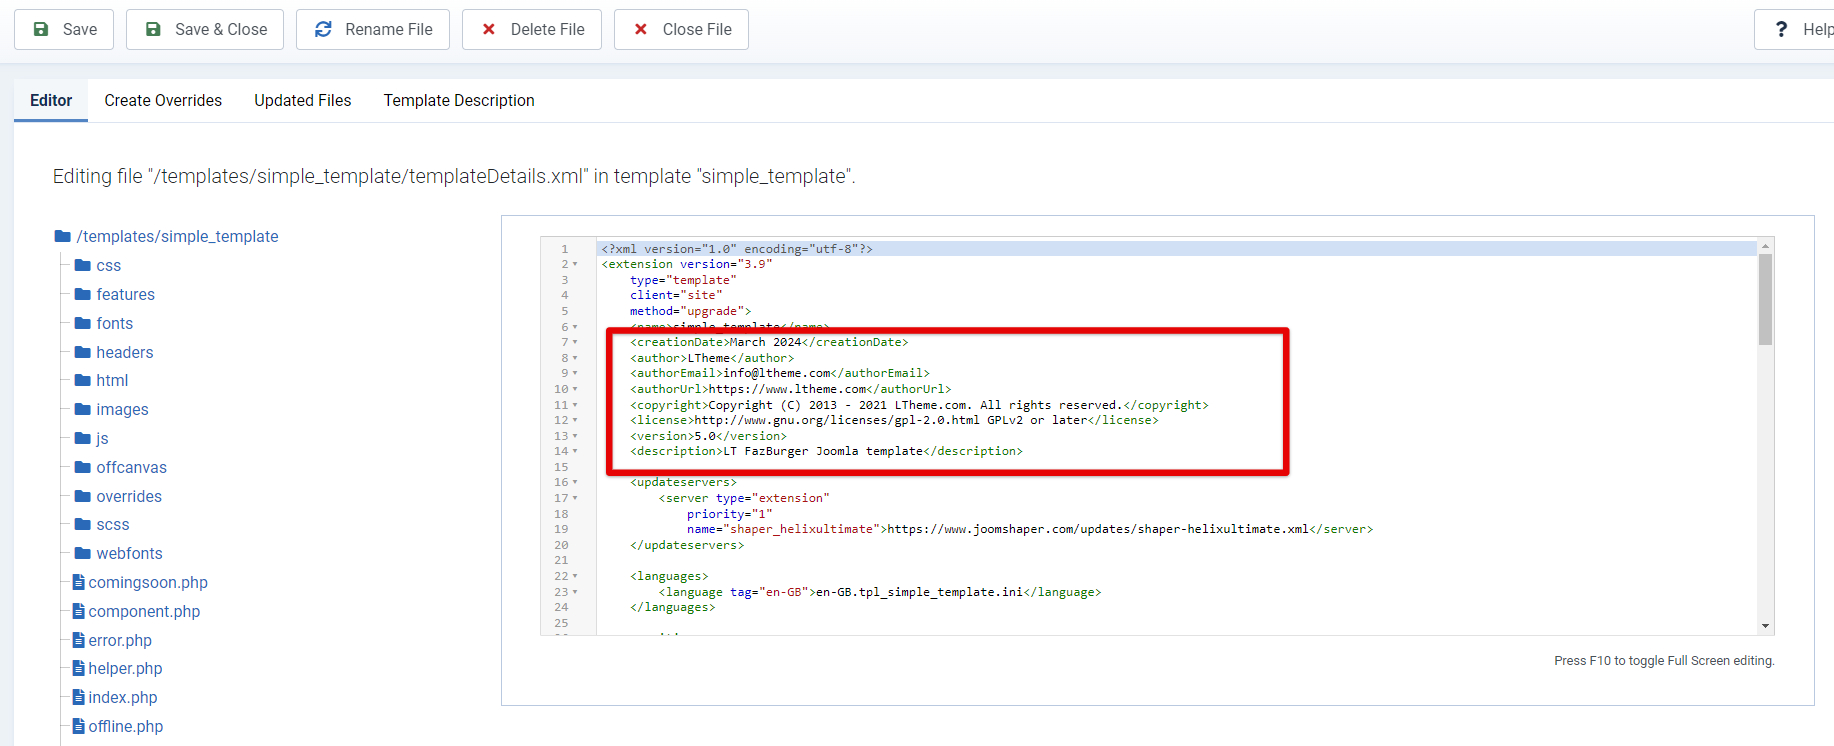
The “simple_template” is actually the template folder. Now, if you want to give it another name, you can use the TemplateDetails.xml file to do that. This file also provides you with some necessary information about the templates including template name, template version, template author, and other details.

Step 2:
Unfortunately, Joomla! does not comprehend the Helix Framework layout after you have produced a copy. As a result, we have to manually alter the layout file (.json) for the new template copy.
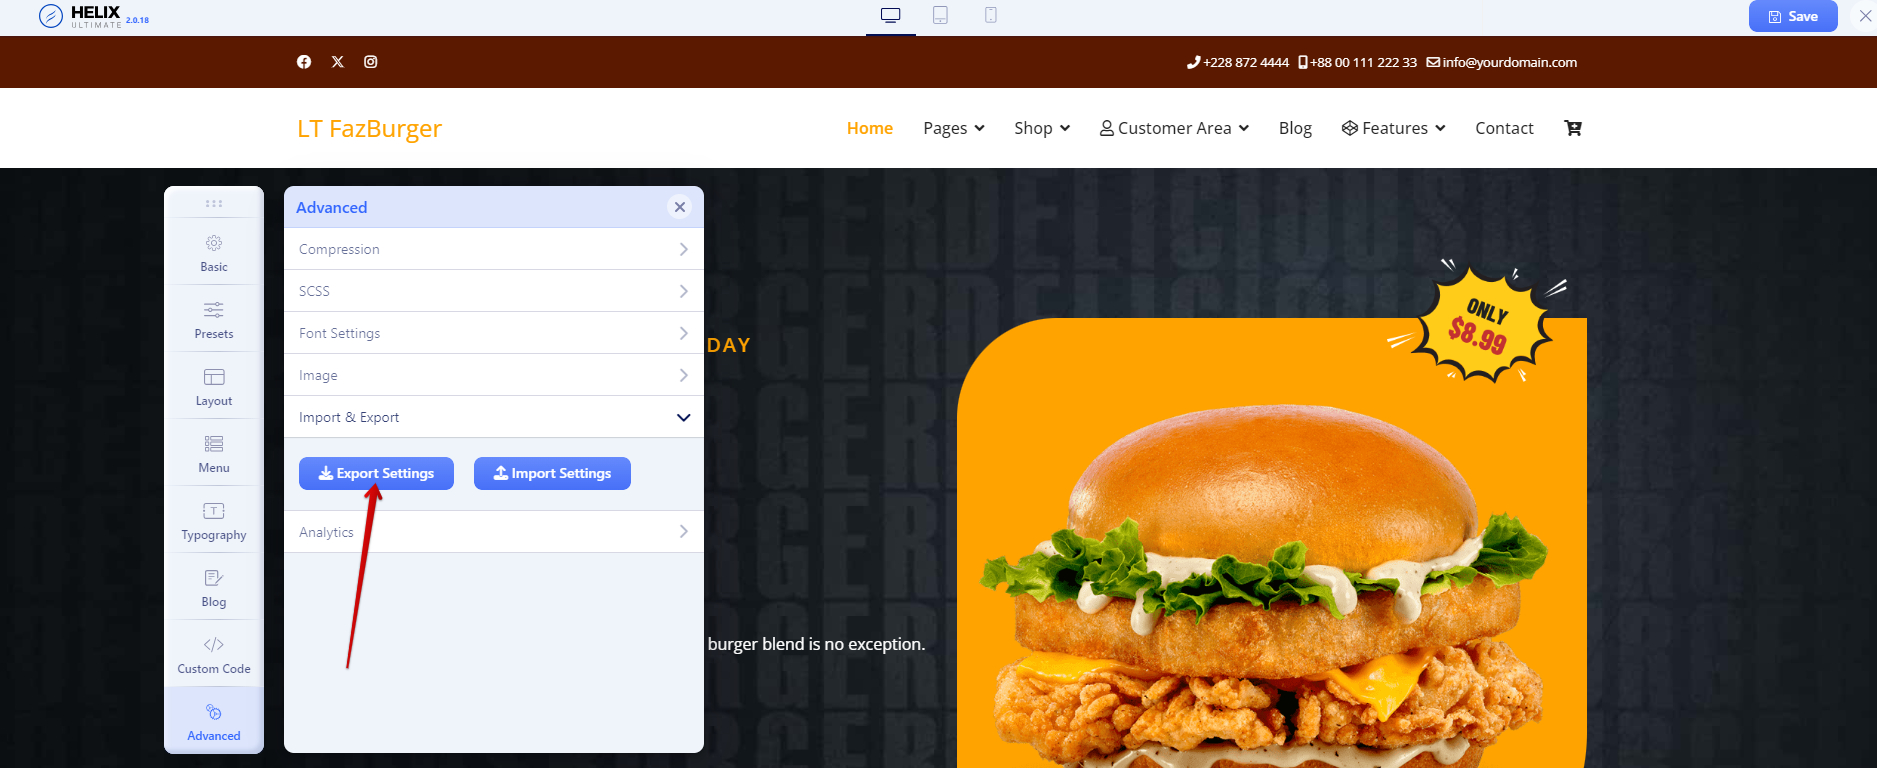
First, navigate to LT Fazburger’s Template Options and select the Export Setting (.json file) option.

Next, you must click “Save” after importing the settings (as a.json file) into the ‘simple_template”.

Step 3:
When you duplicate a template, TemplateDetails.xml is automatically used to create the language file for the new template copy.

This file has to be copied to the new template folder (simplte_template) from the old template folder (lt_fazburger). Next, to make the language file standard for installation with another domain or website, you need to rename it from en-GB._lt_fazburger.ini to en-GB.tpl_simple_template.ini.

(*) You can skip this step (3) if all you want to do is modify the template folder. Only the new template install package, which you compress and install for another website, may use this template.
The final thoughts
You now have a thorough guide on how to modify the template folder in the Helix Joomla template Framework. I hope this solution is useful to you. You should be aware that this approach is limited to users of the Helix Template Framework, though. After being implemented this way, it might not function with other template frameworks or result in certain undesired issues.
Please leave a comment if this method doesn’t work for your website. We’ll help you out shortly.

Hello everyone! We’re Galussothemes content team, we love to write new blogs for WordPress Joomla! and other tech niches everyday. We’re talented young people who hold a strong passion for website development, designing, and marketing. Feel free to leave your comment if you have any issues or questions with our blogs.


