Are you looking for an easy way to create and manage content on WordPress? Reusable blocks are a great way to do just that! In this blog, we’ll show you how to create and use WordPress reusable blocks to streamline your content creation process. Learn how to save time and effort by creating and reusing blocks on your WordPress site.
What are reusable blocks in WordPress, and how can they benefit your website?
WordPress reusable blocks are an incredibly useful feature that allows you to create content that you can use and reuse throughout your website. These blocks are essentially content snippets that can be used across your site, making it easy to update information in one place and ensure consistency throughout your pages and posts. Thanks to that, you can create content once and use it again and again.
Additionally, by using reusable blocks, you can streamline your editing process and quickly make updates to your site with minimal effort. Additionally, these blocks allow you to easily customize the look and feel of your content to match your website’s design. By taking advantage of WordPress’s built-in reusable block functionality, you can create a more efficient and effective website that delivers value to your audiences.
Now, let’s check the following introductions to create and use WordPress reusable blocks in Gutenberg.
How to Create and Use WordPress Reusable Blocks?
To create and use WordPress reusable blocks, users need to follow a few simple steps.
Step 1: Create a WordPress reusable block
Firstly, they need to create a new post/page or open any available post or page on the WordPress admin interface.
Then, they need to click the “Add block” (+) icon in the editor, select the block they want to add and create their block by adding any desired text, images, and formatting.
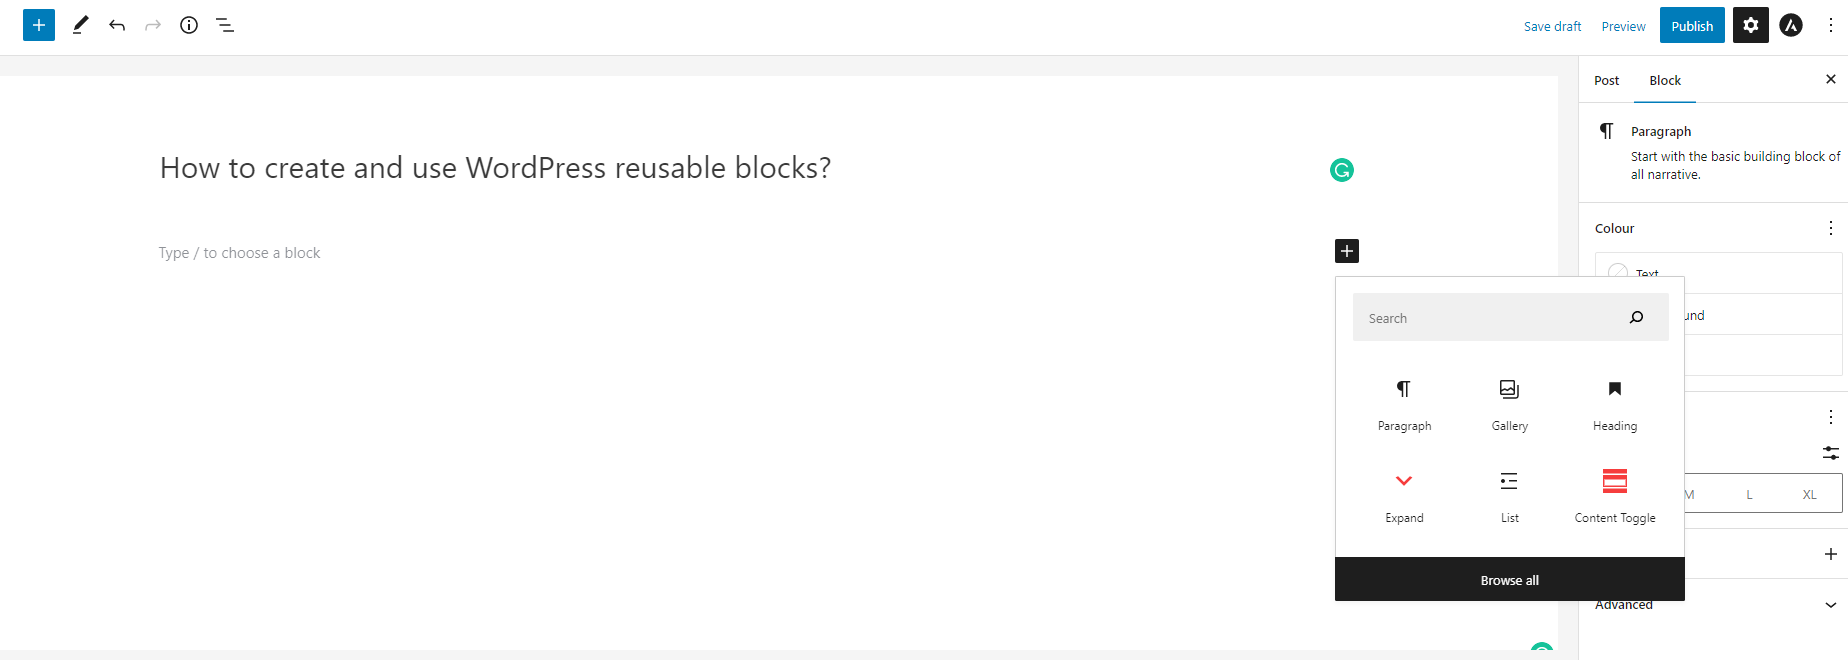
For example, we will use the gallery block and add as many images as we want to our gallery.
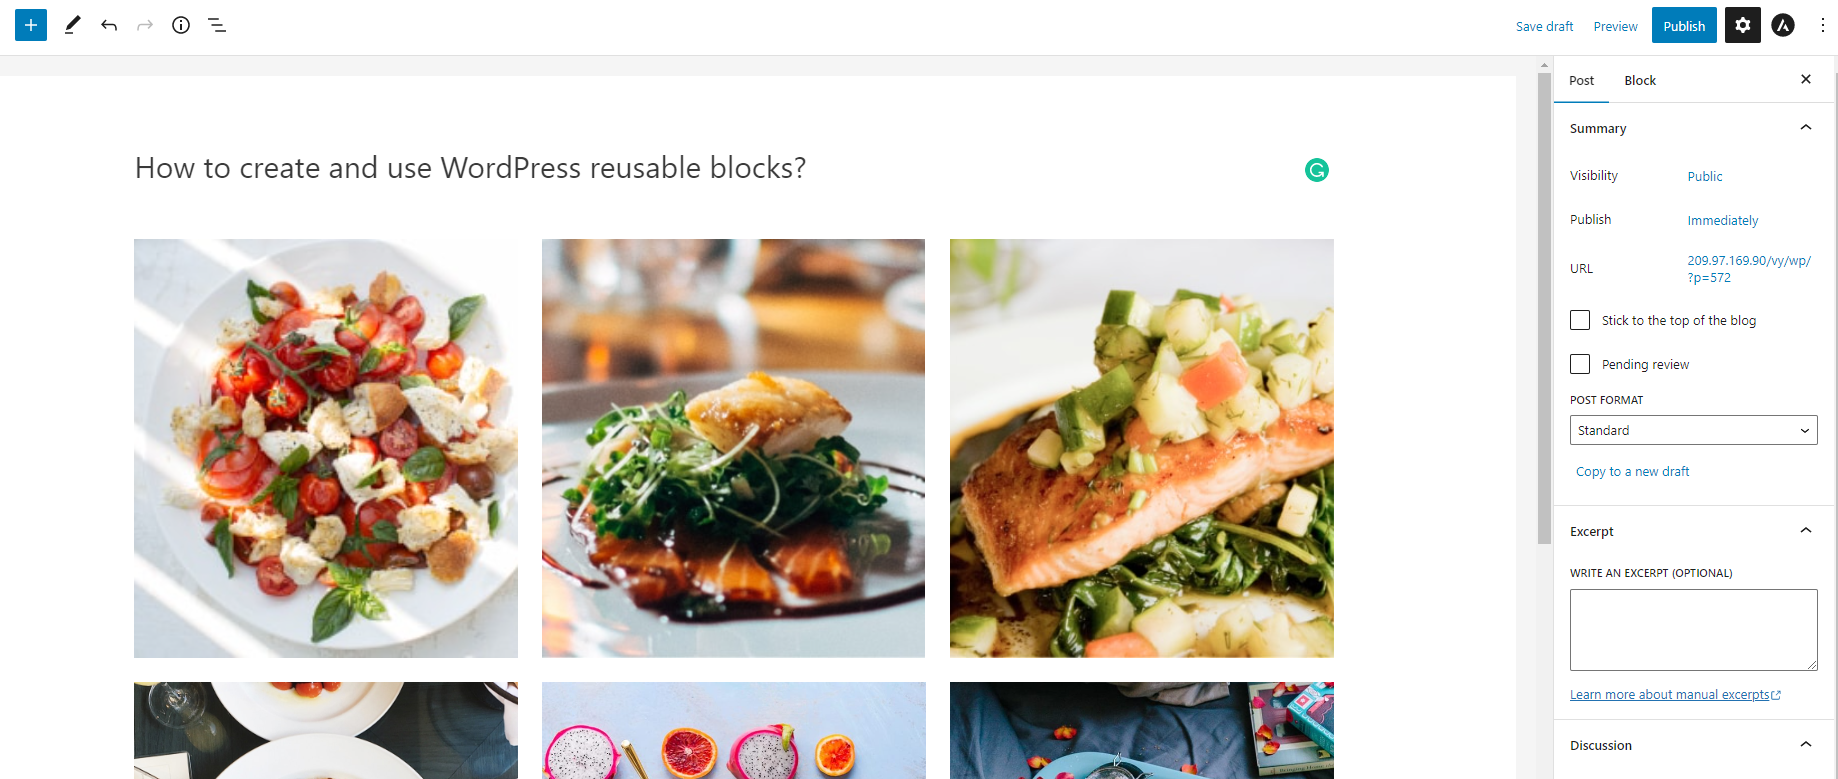
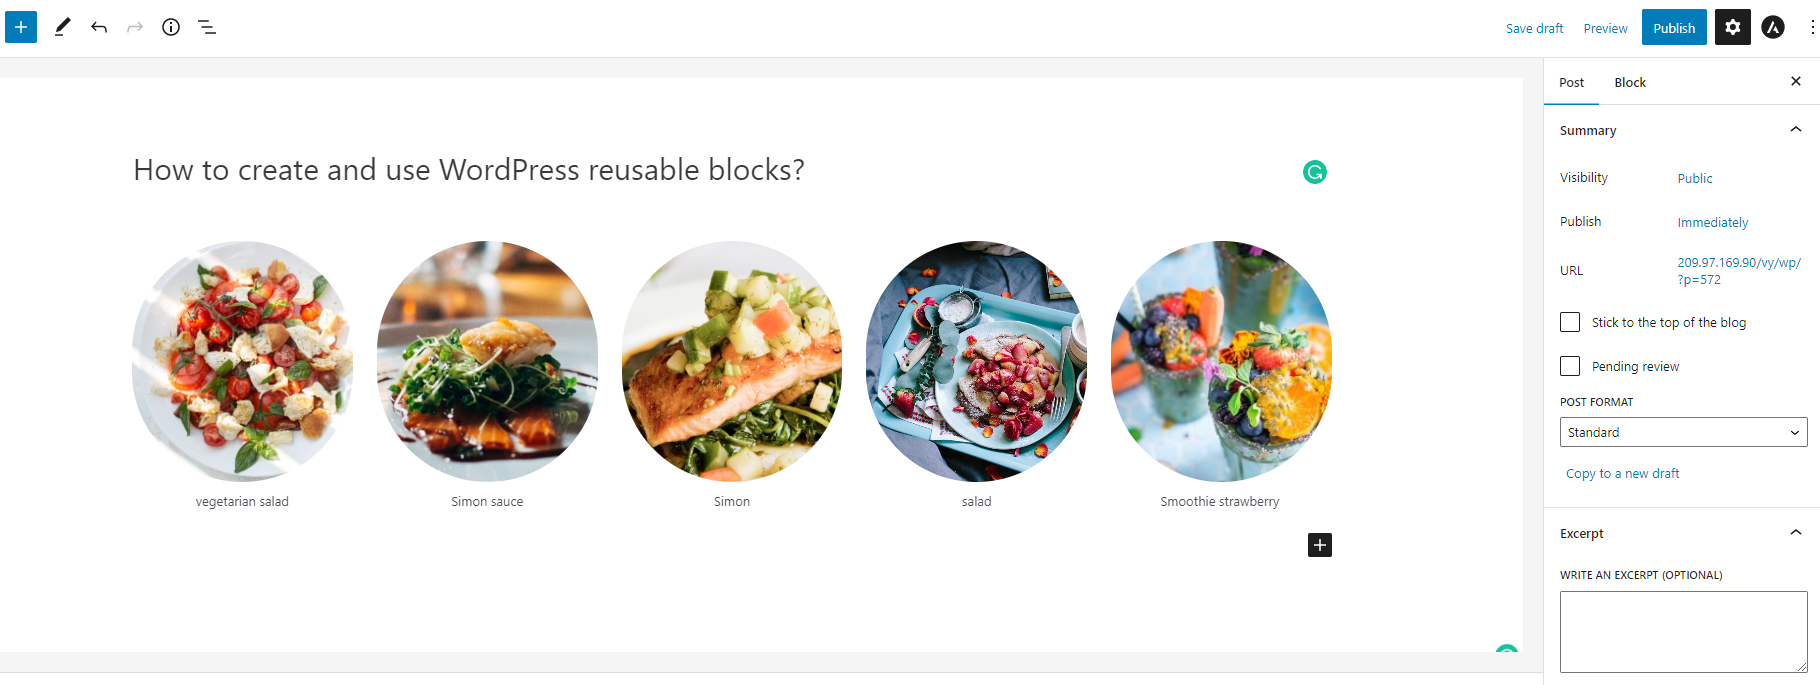
Then, we use some useful customizations of the block to make our gallery more attractive.
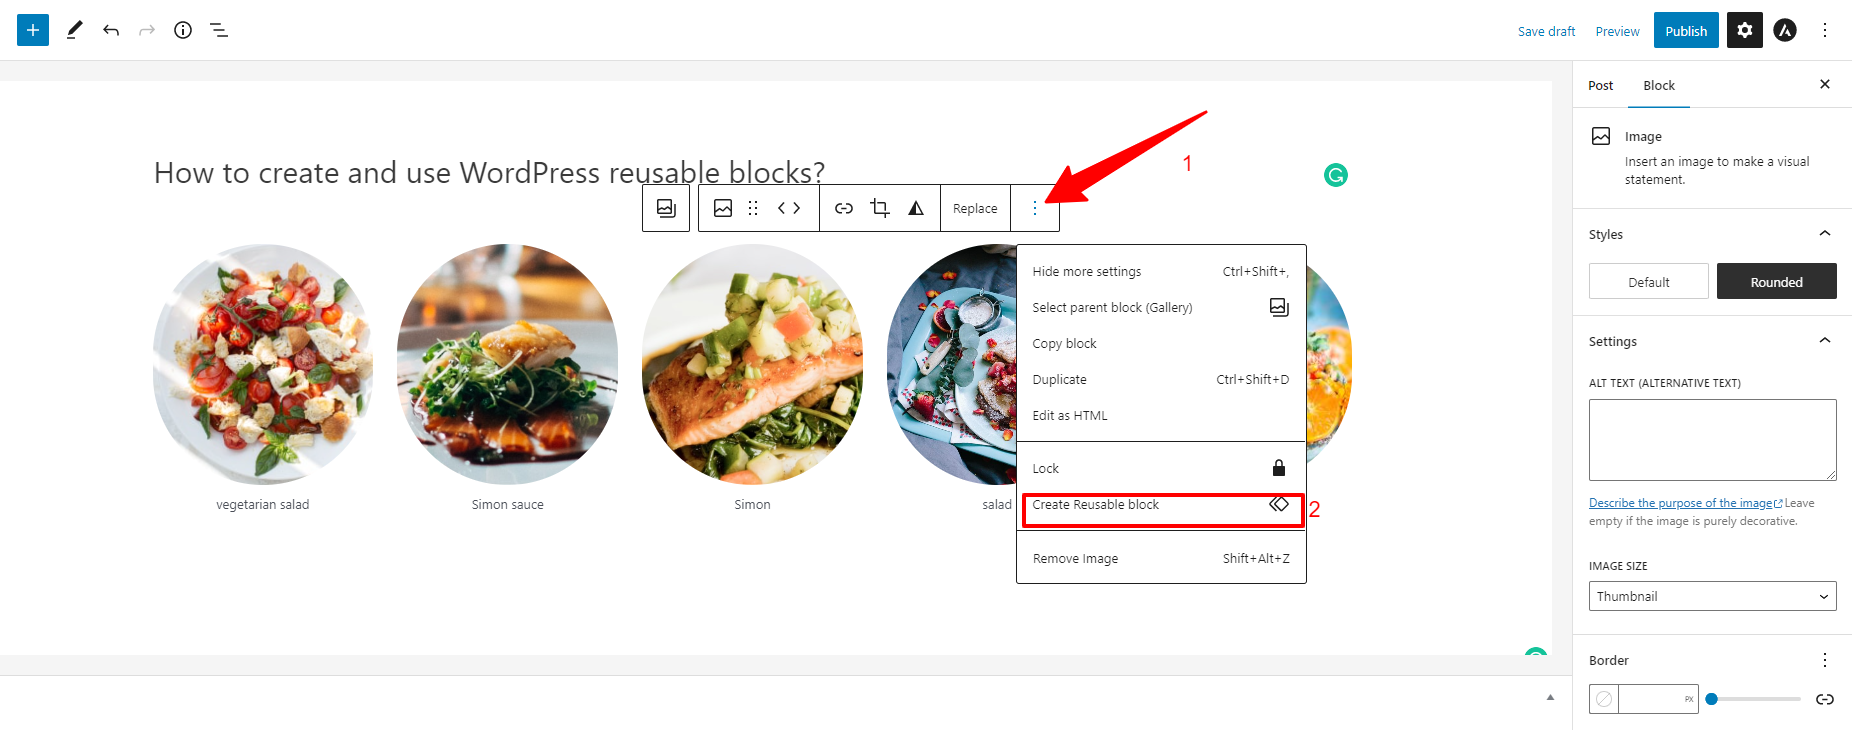
Once you have finished editing, now you can add the block to reusable blocks by clicking on the three-dot menu button in the toolbar and selecting “Create Reusable Block“.
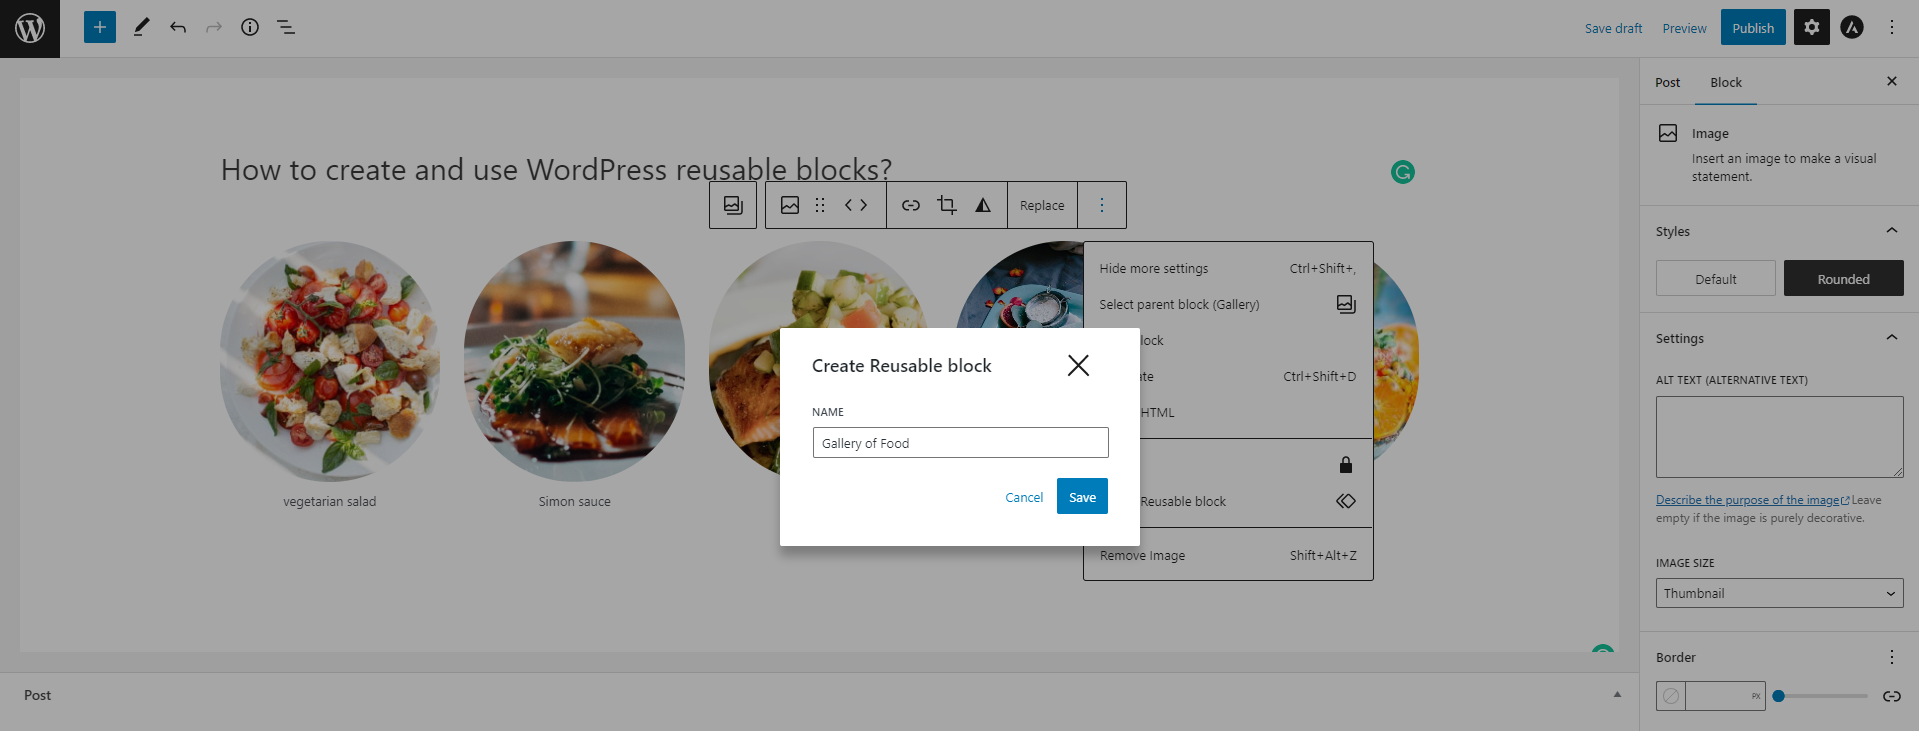
Next, you need to enter a name to help you recognize the block, and don’t forget to save it.
In case you would like to save multiple blocks together, then you can also choose all the blocks that you want to save by clicking on one block, then holding down the shift key when you click on other blocks. After that, simply press the three dots button -> Add To Reusable Blocks -> Enter block group name -> Save.
Now, you can add or use WordPress Reusable Blocks to other posts or pages on your site.
Add the WordPress reusable block to new posts/pages
Now that you have created a reusable block, you can use it throughout your website. To do that, initially, you open any post/page that you want to use reusable blocks.
Next, if you want to insert the block into a page or post, click on the “+” icon in the top-left corner of the editor and then type in the name of the reusable block that you saved earlier. Select your block and it will be inserted into your content.
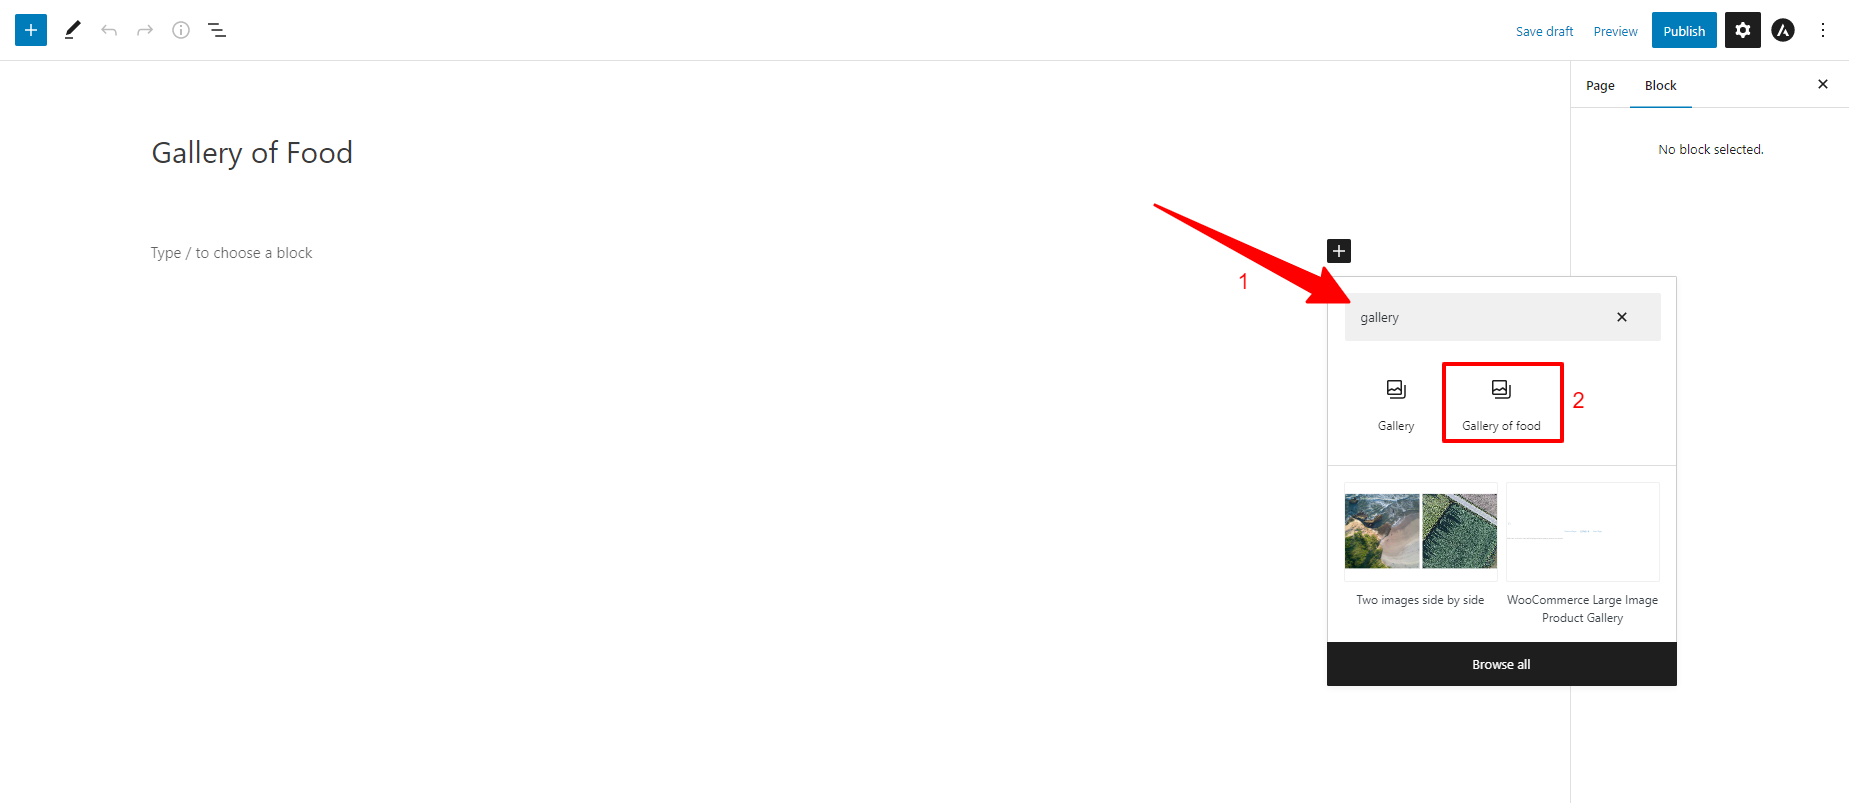
Alternatively, you can access all of your reusable blocks by clicking on the Manage Reusable Blocks button, or by going to the Reusable tab within the Add Block menu. This will show you all of the reusable blocks you’ve created, and you can quickly insert them into your pages and posts with just a few clicks.
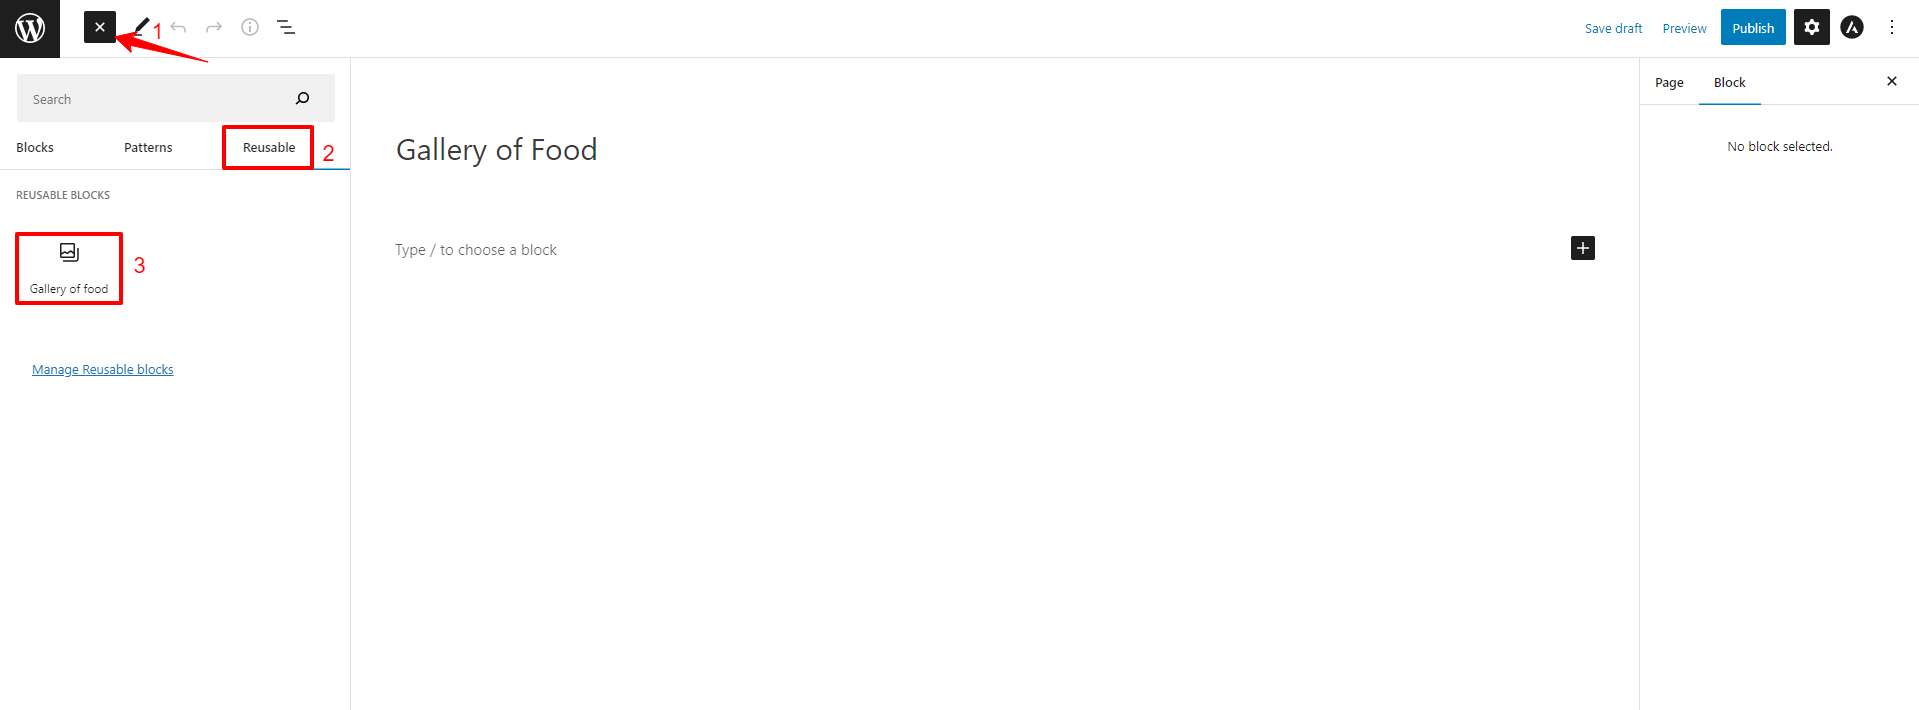
To make things even more efficient, WordPress also allows you to organize your reusable blocks by naming them appropriately and customizing their appearance to match your website’s design. This will streamline your workflow and help you quickly find and add the right reusable blocks to your content.
Overall, using reusable blocks in WordPress can save you a lot of time and hassle. Whether you’re a blogger or a professional web designer, this handy feature is definitely worth exploring. So why not give it a try today and see how much time and effort it can save you?
Export or import WordPress reusable block
Another advantage of using reusable blocks is that it allows you to use reusable blocks for multiple websites by importing or exporting your created reusable blocks. As a result, you can save much time and effort in building plenty of websites.
Now, if you want to export or import reusable blocks, let’s click on the plus(+) icon on the left side of the screen. Then, click on the “Reusable” tab and click on the “Manage Reusable Blocks” link. This will take you to the page that displays all reusable blocks you created.
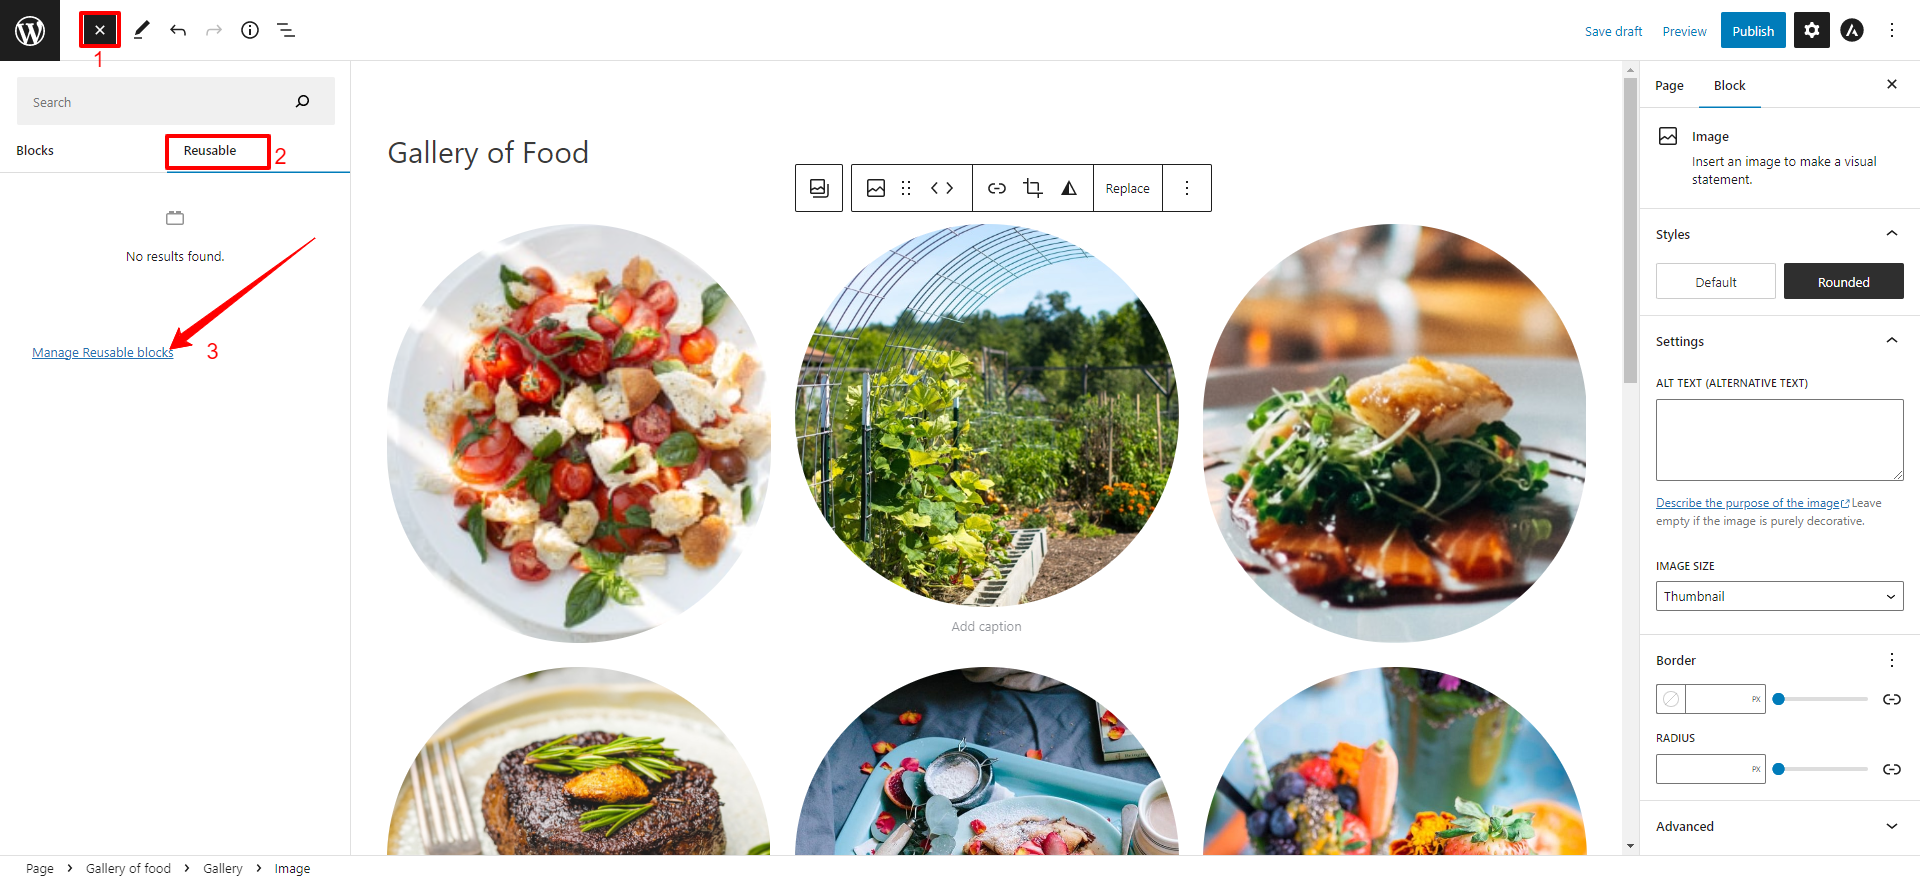
In order to export the WordPress reusable blocks, you need to choose the Export as JSON option, they will be saved as a JSON file to your computer.
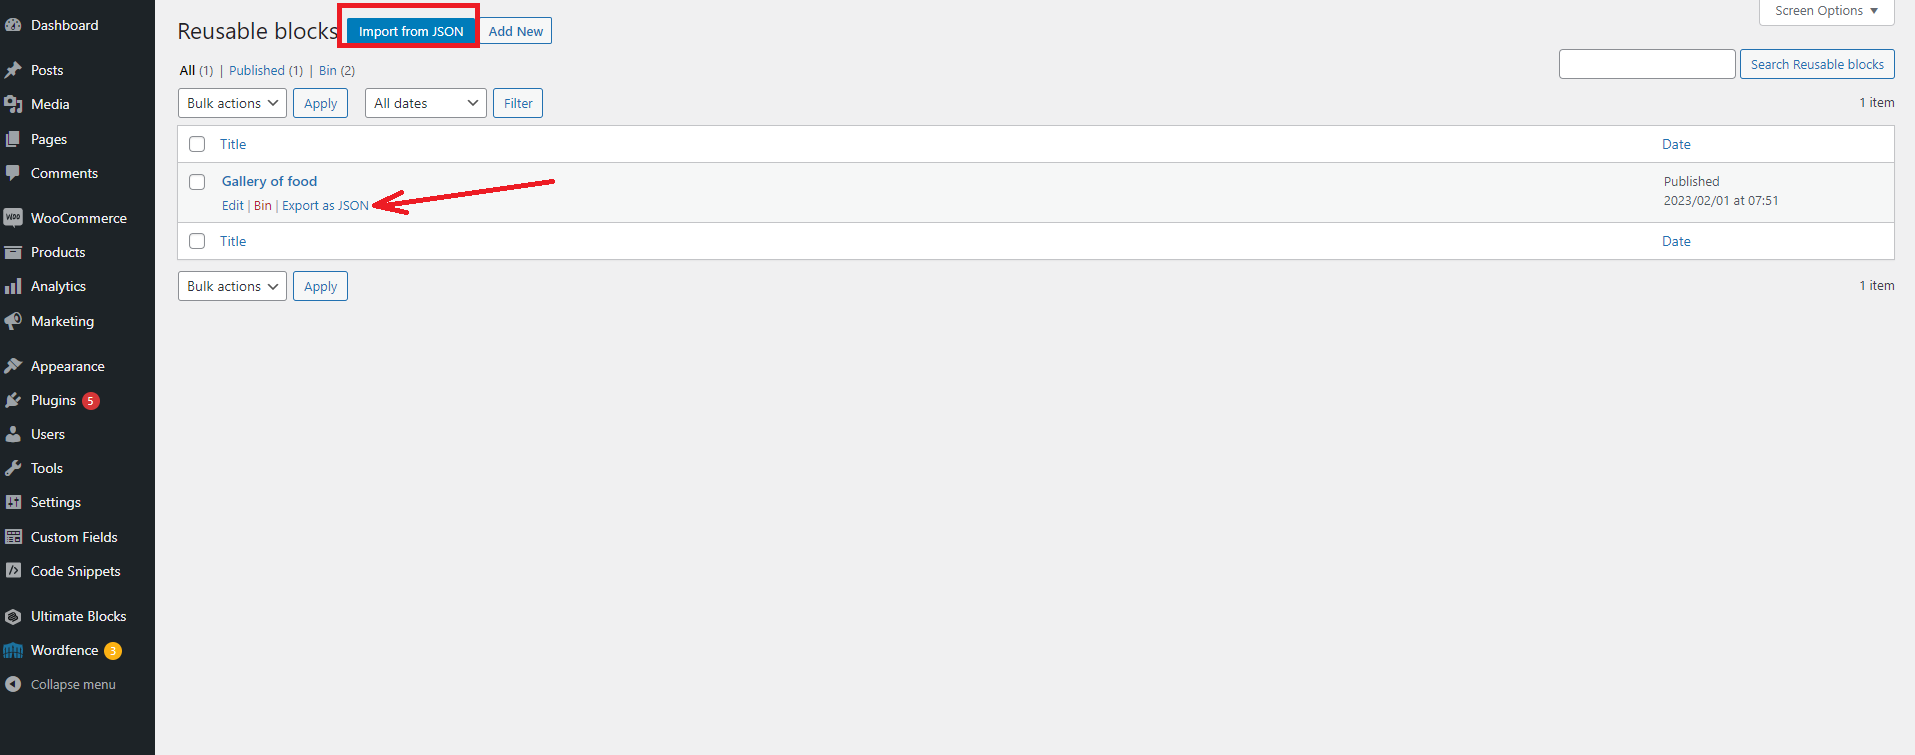
Finally, let’s open another WordPress dashboard -> access the Blocks page with the same steps above. After that, simply click on Import from JSON -> choose the JSON file from your computer and then upload it to your WordPress site. Everything is done.
The bottom line
Creating and using WordPress Reusable Blocks is a great way to save time and effort when creating content for your website. With reusable blocks, you can quickly and easily create complex layouts and designs, without having to start from scratch each time. We hope this tutorial has helped you get to grips with the basics of creating and using WordPress Reusable Blocks.
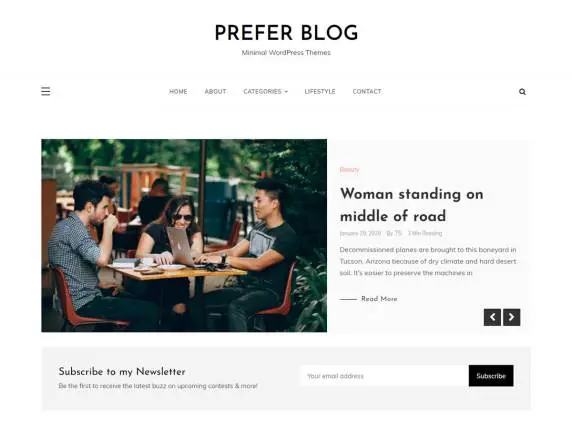
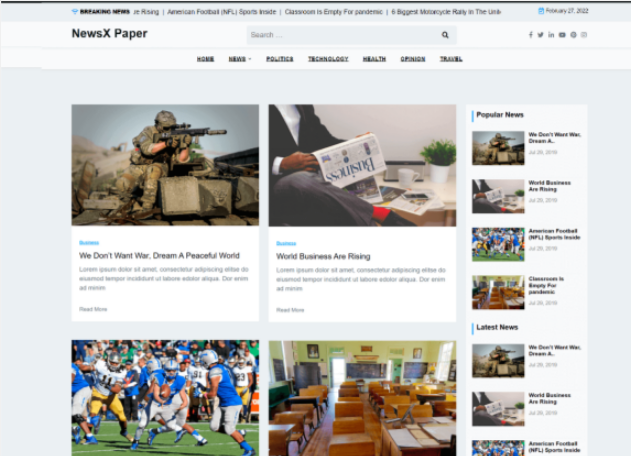
Besides that, you can visit our website and discover tons of stunning, SEO-friendly, free WordPress Themes on our website. Let’s check them out.

Hello everyone! We’re Galussothemes content team, we love to write new blogs for WordPress everyday! Galusso Content Team is a part of IT4GO – The company houses talented young people who hold a strong passion for website development, designing, and marketing.

