Do you want to use Gutenberg HTML block to add custom functionality to your website? If yes, don’t ignore our blog, it gives you a detailed guide to adding and properly using Gutenberg HTML block in WordPress. Now, let’s check them out.
How to use Gutenberg HTML Block in WordPress?
Add Gutenberg HTML Block
Similar to other blocks, in order to add an HTML block to your content, you can track the following steps:
- Open a new post or page that you want to use an HTML block
- Click on the Plus (+) icon in the top left corner of the editor to add a new block. Alternatively, you can use the (+) icon within the content to add the block instead.
- Then, search for the “Custom HTML” block in the search bar and simply add it to your content.
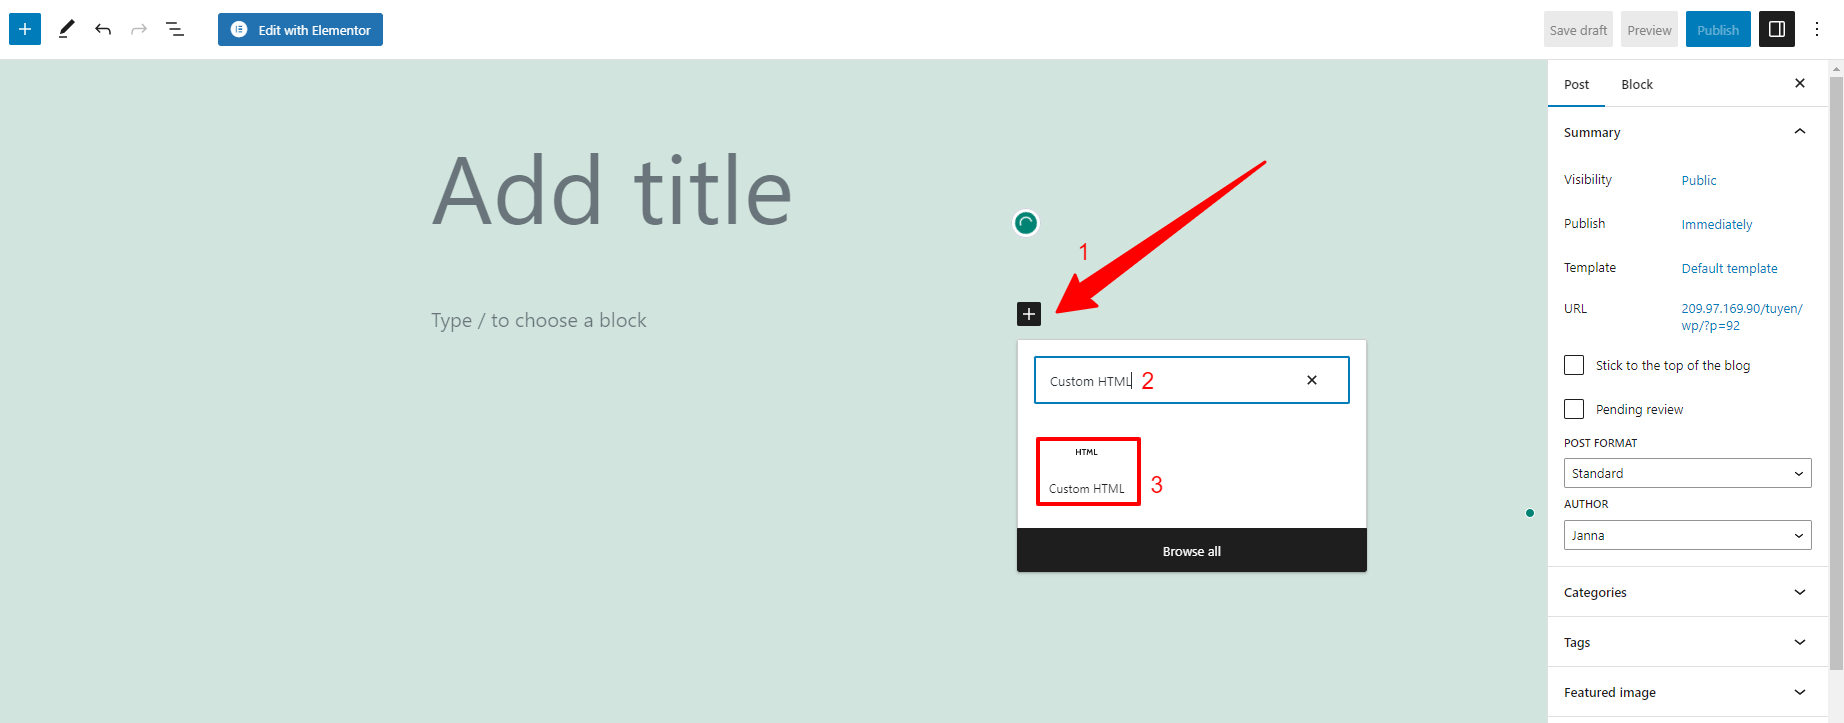
Once the block is added, now you can add type your own HTML such as <div> or <img src>, and hit “Enter“.
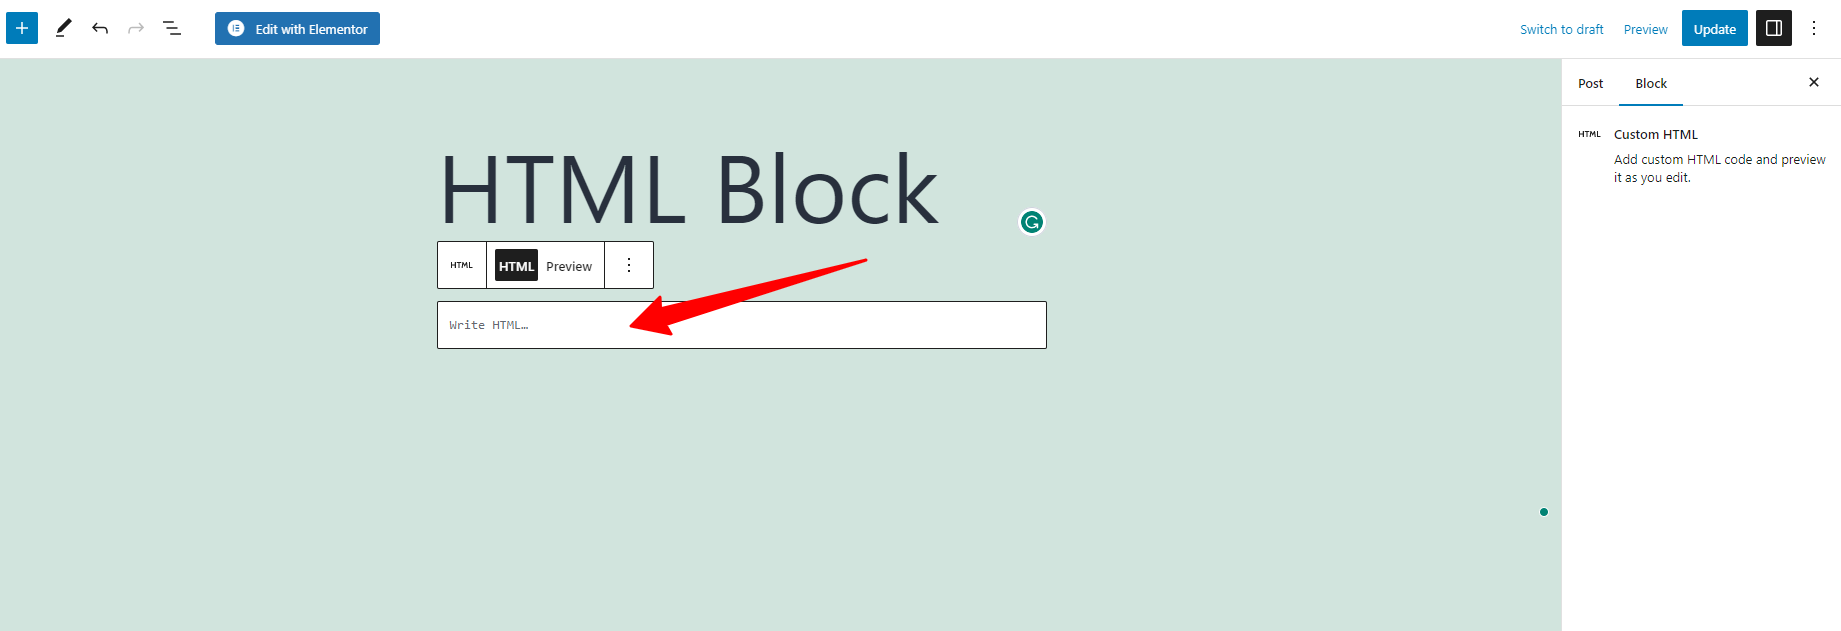
Use HTML Block toolbar
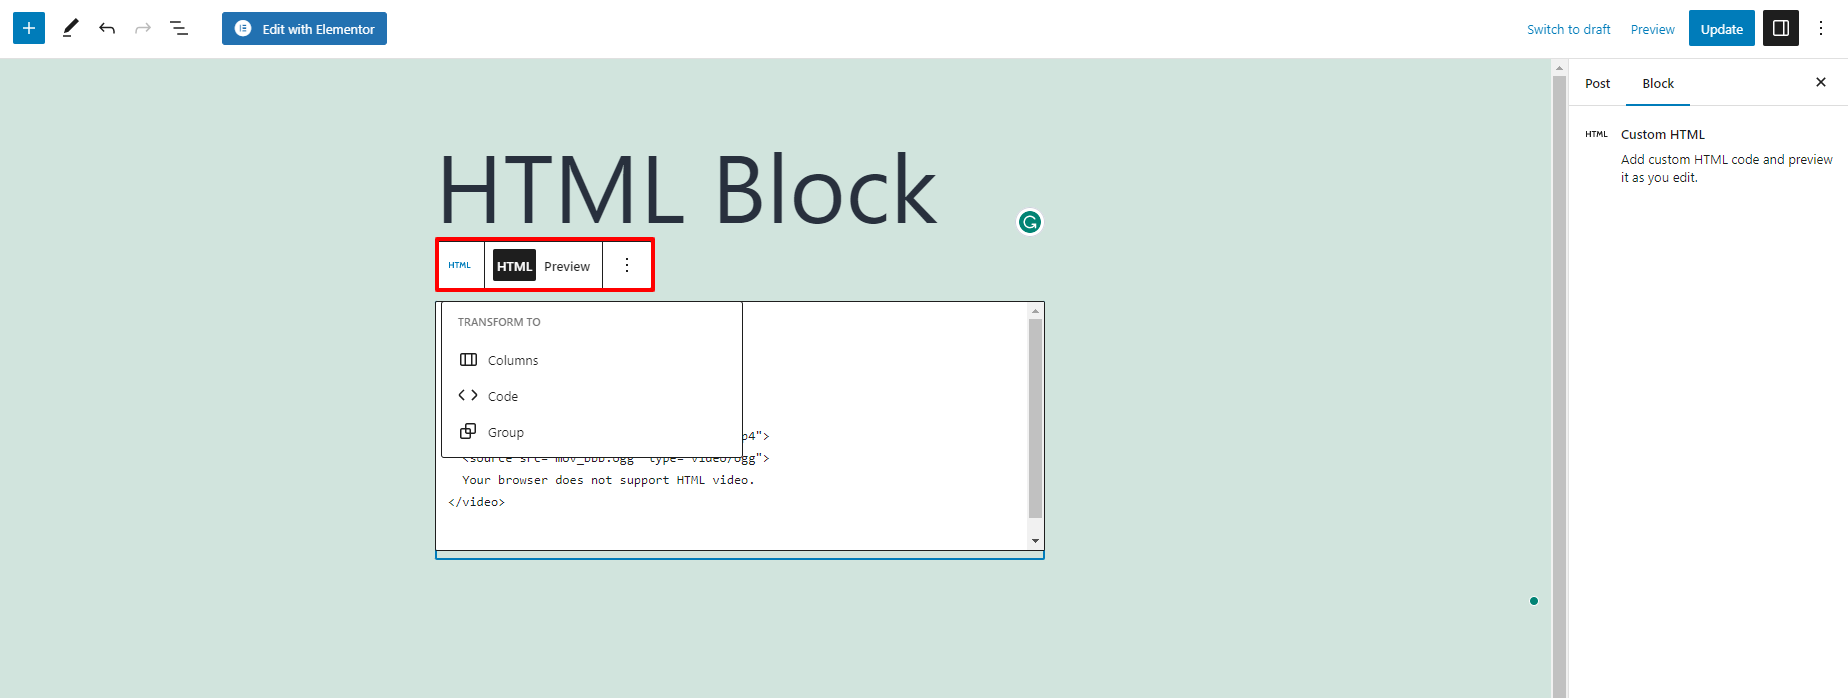
In order to see the toolbar, you can click anywhere within the Custom HTML block. Then, this will showcase a list of block options that allow you to change the block type, convert to blocks, and much more. Now, you will dive into the individual options in the following sections.
Custom HTML Change Block or Style
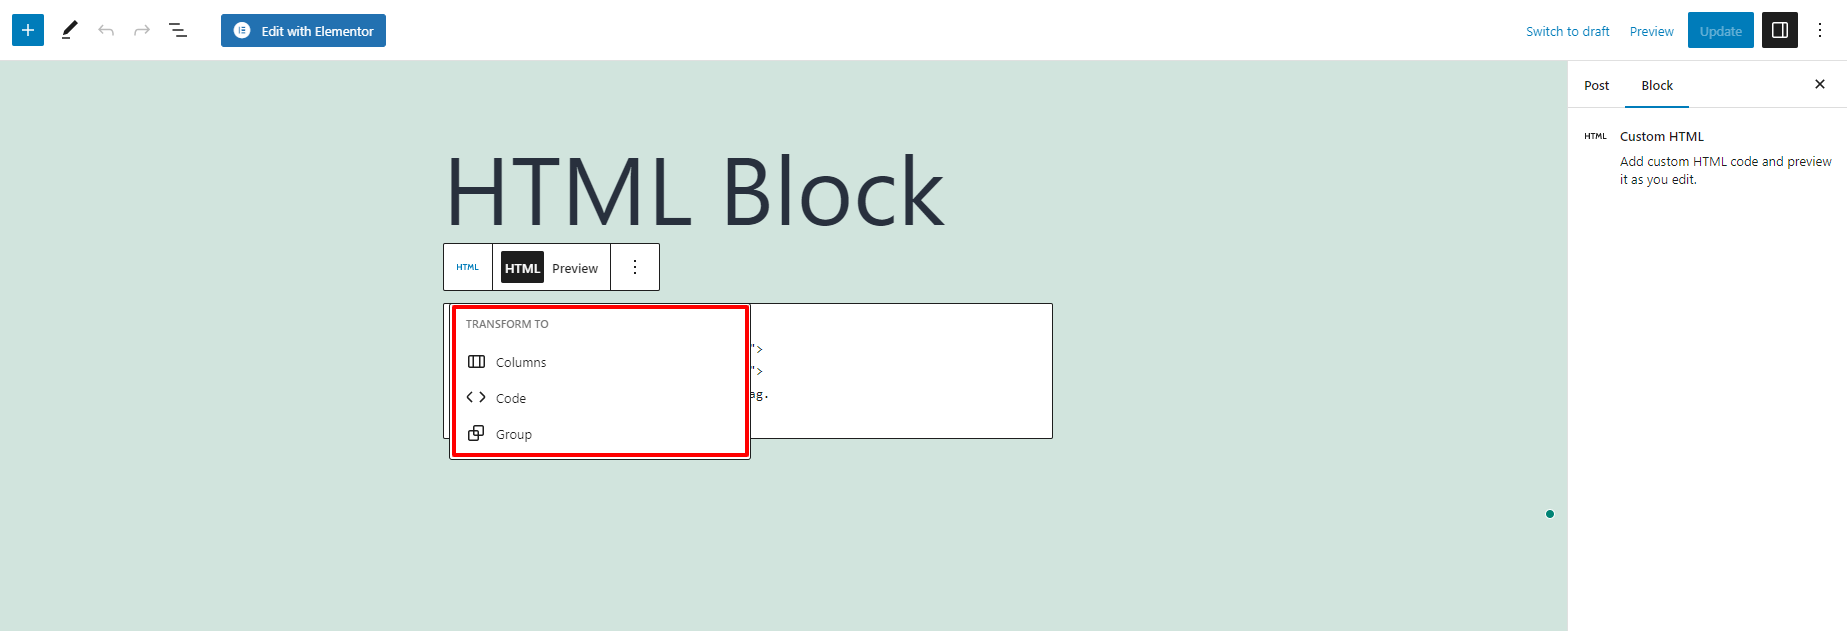
When you click on the first option on the toolbar, it will display some options in a drop-down menu that allows you to transform the block to other types of blocks.
- Code: This option allows you to transform a block into a custom HTML block. This can be useful if you want to add some custom HTML code to your post or page.
- Group: This option allows you to transform multiple selected blocks into a group block. The group block allows you to group multiple blocks together and apply styles to the entire group.
- Column: This option allows you to transform a block into a column block. It lets you create multiple columns within a single block, and adjust the width of each column as needed.
Custom HTML Block Drag Tool
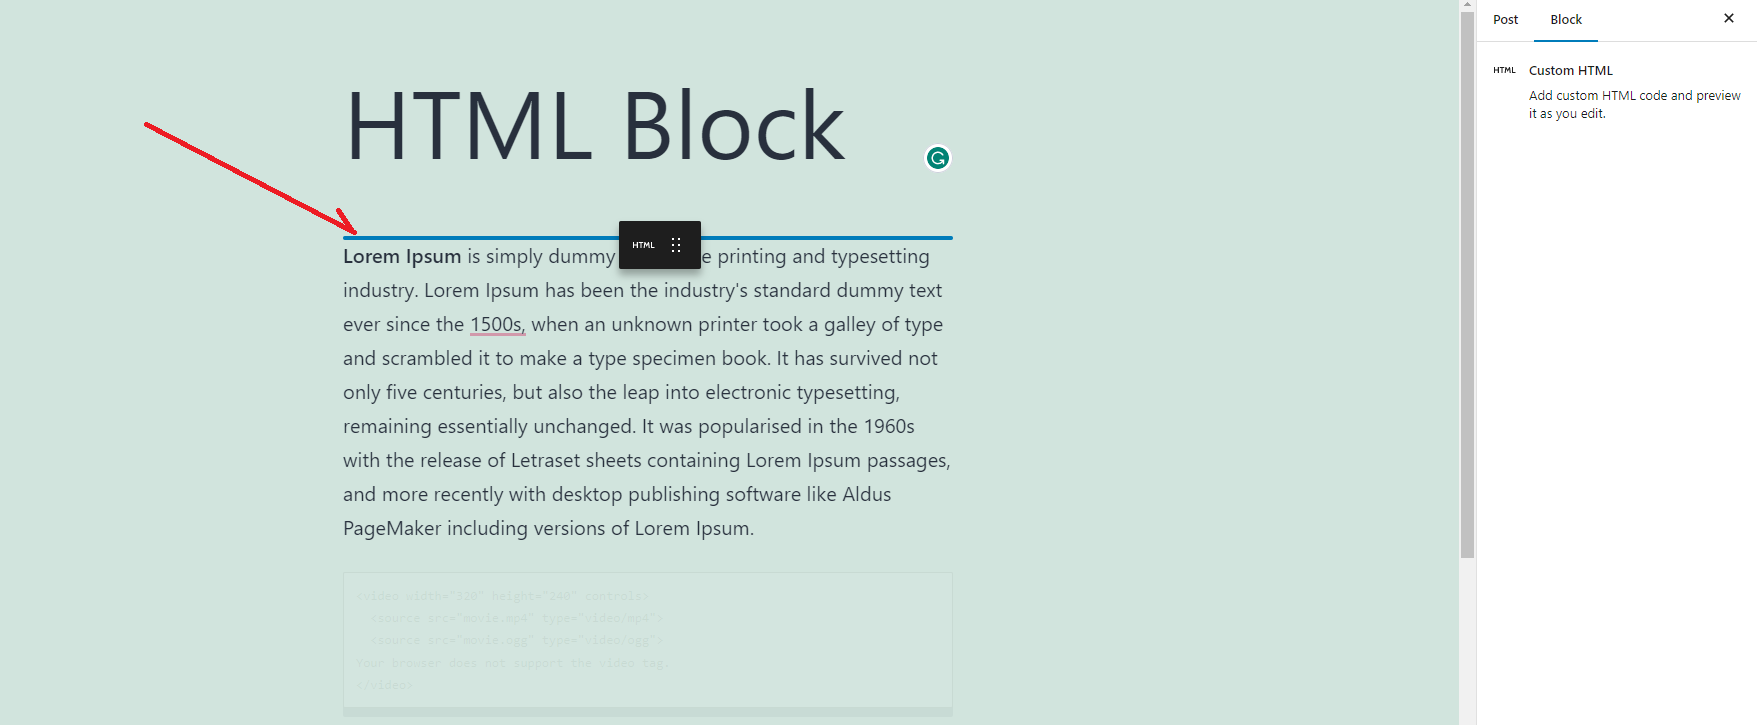
The “Drag” option in the toolbar allows you to easily move blocks around within your post or page by clicking and dragging them. This feature is available for most types of blocks in Gutenberg.

As you drag the block, you’ll see a dotted line appear where the block will be placed once you release your mouse button. Once you’ve positioned the block where you want it, simply release your mouse button to drop the block into place.
Custom HTML Block Move
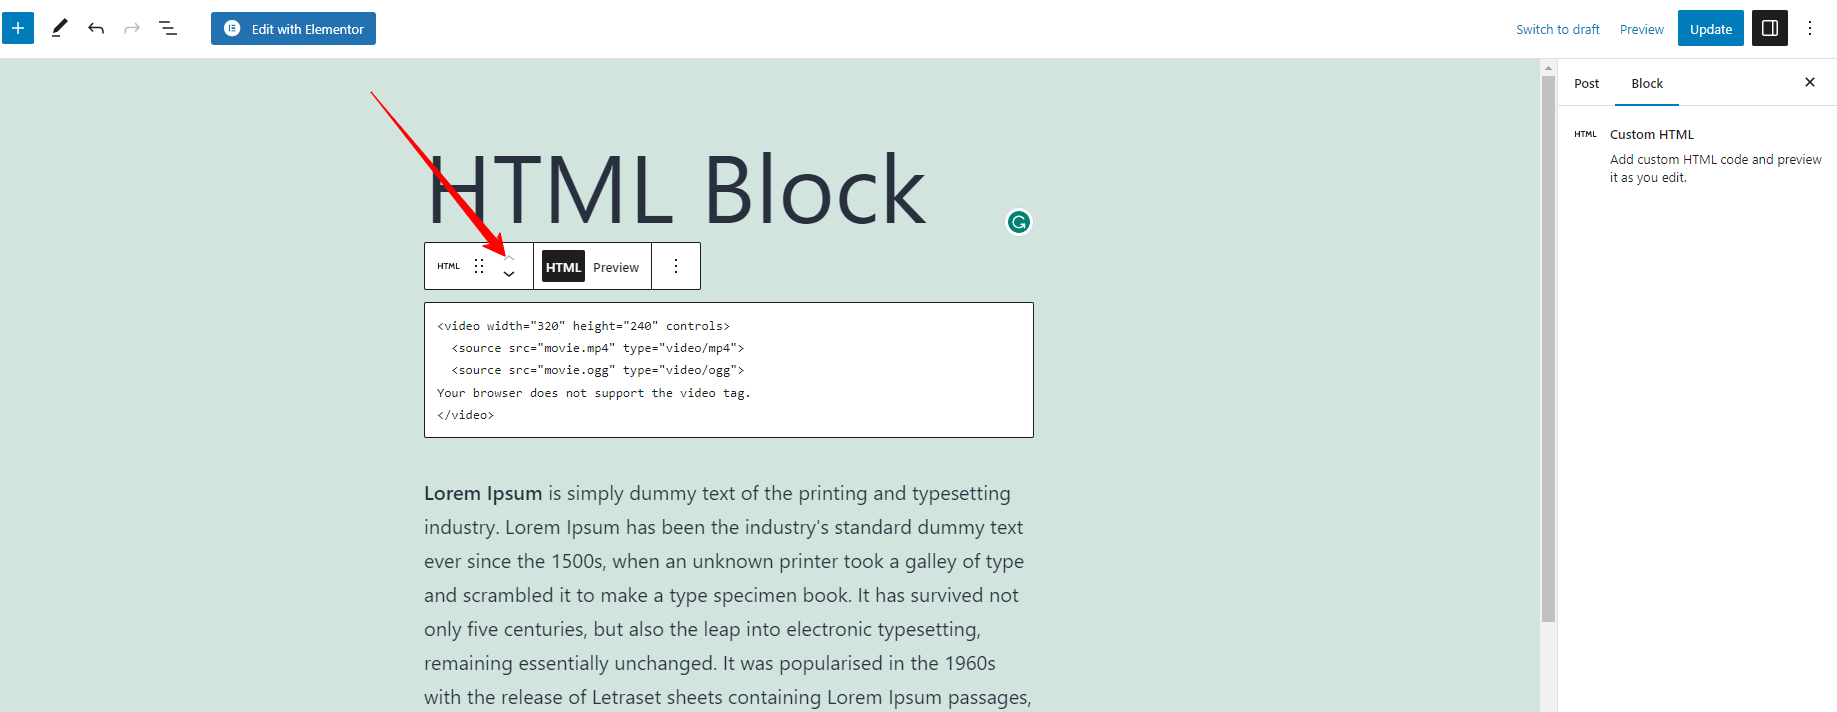
The “Move” option allows you to move a block up or down within the block hierarchy of your post or page.
Using the Move option can be a useful way to rearrange the order of blocks within your post or page, and can be helpful when you want to change the layout or flow of your content.
Custom HTML Block HTML and Preview
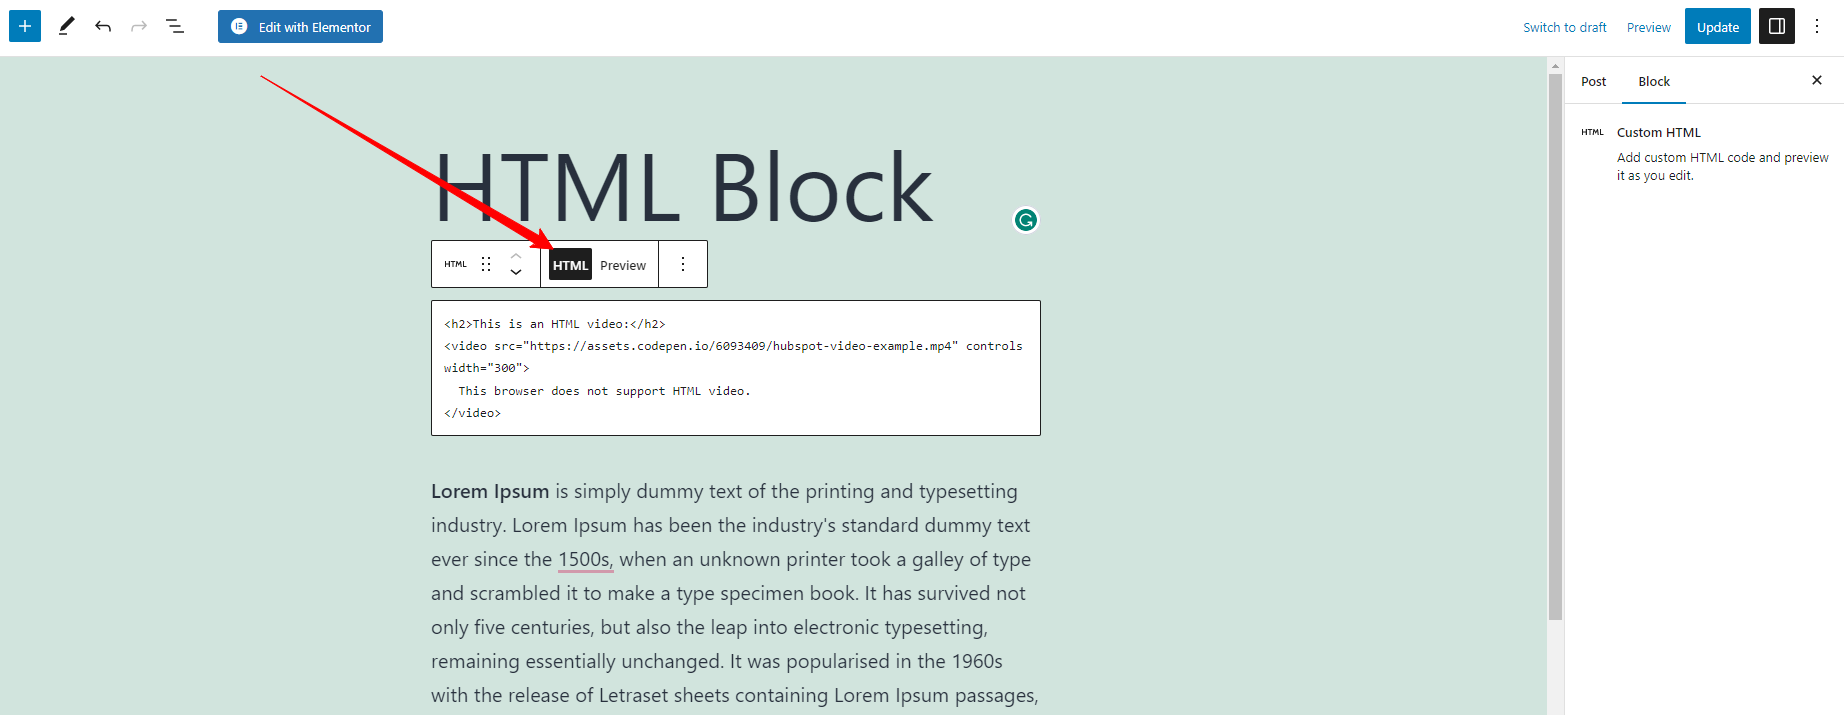
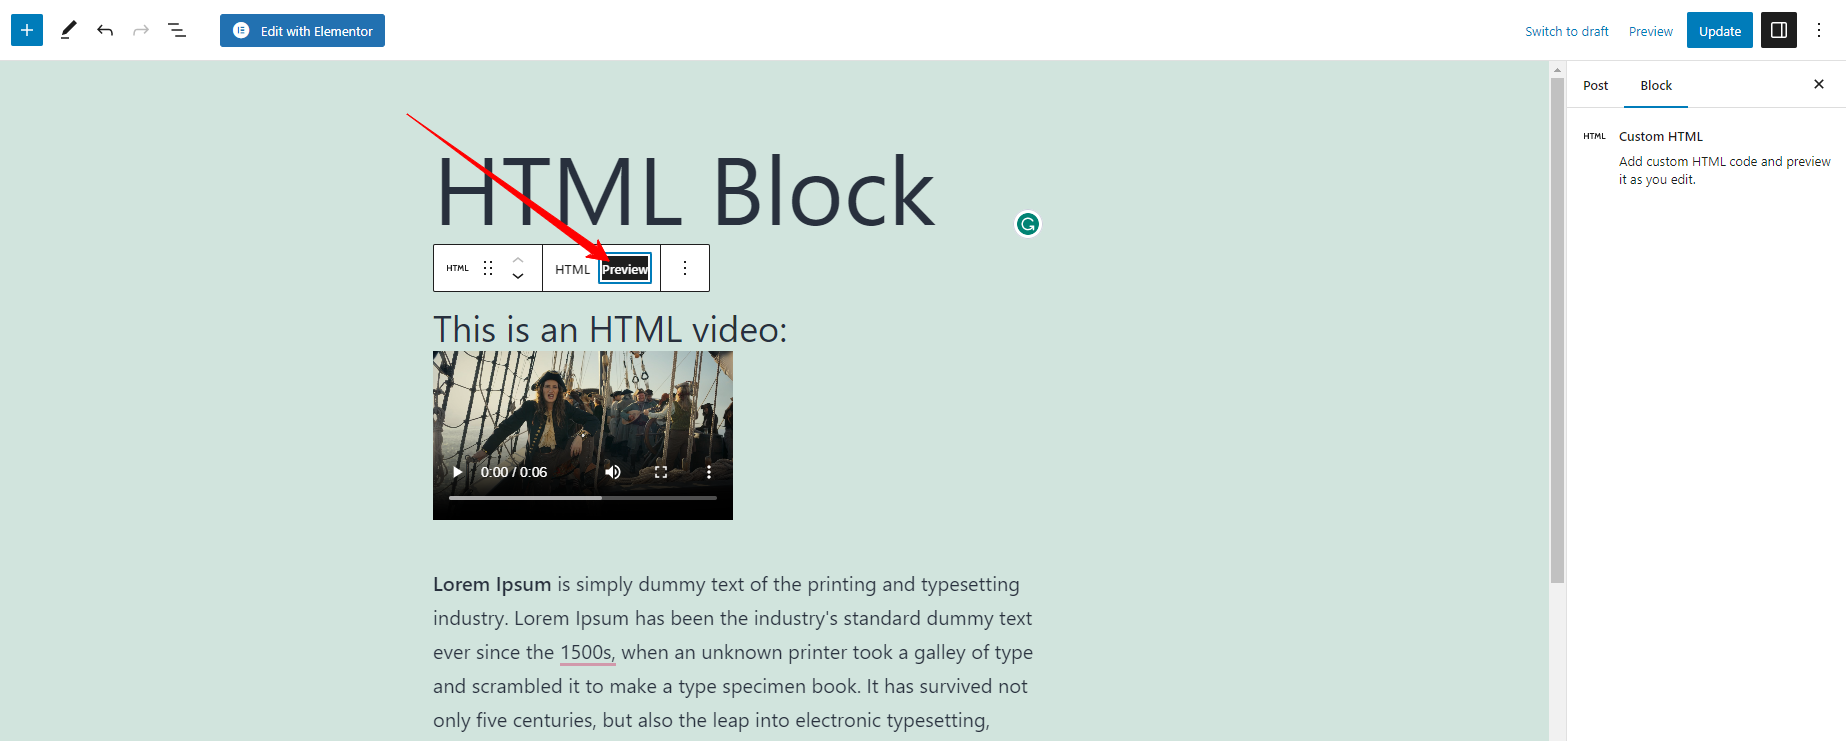
The HTML button and the Preview button in the toolbar of the Custom HTML block in Gutenberg allow you to toggle between viewing the block’s HTML code and a preview of how the block will look on your website.
When you click on the HTML button, it will display the block’s HTML code in a code editor. This allows you to edit the block’s HTML code directly, which can be useful if you need to make more advanced customizations to the block.
In contrast, once clicking on the “Preview” button, you can see a preview of how the block will look on your website. This can be useful if you want to see how your changes will appear to your visitors without having to switch to the front end of your website. This example shows an embedded video within your content.
Custom HTML block more options
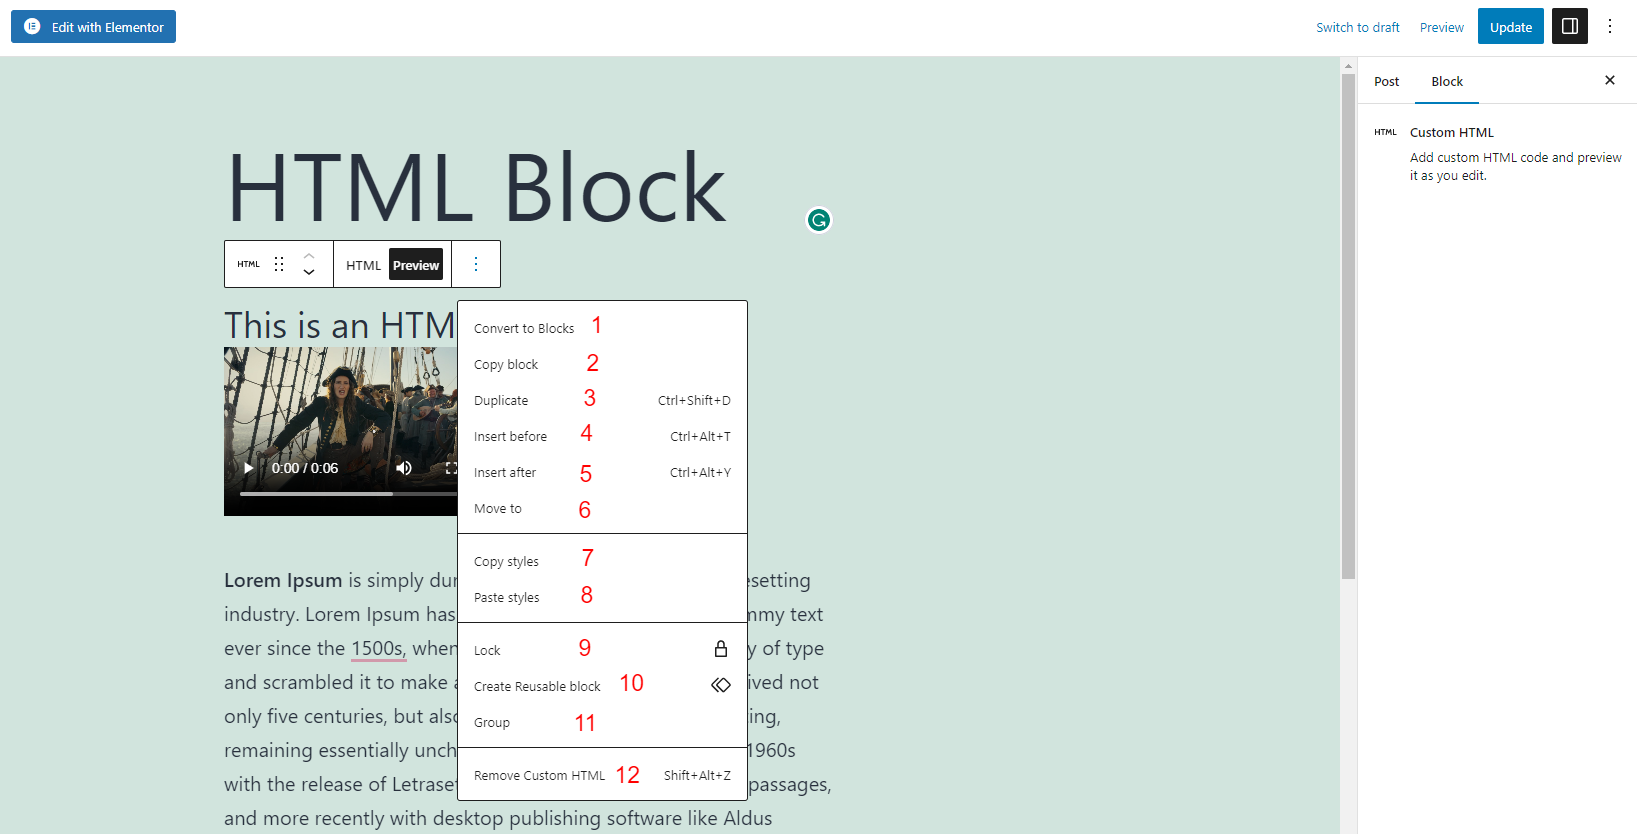
When clicking on the More option( Three dots icon), you will see a set of 12 options that allows you to convert to block, copy, duplicate, insert before or after, move to, and much more.
Here’s what each button does:
- Convert to blocks: This option allows you to convert a selected block into multiple blocks.
- Copy block: This option allows you to create a copy of the selected block.
- Duplicate: This option allows you to create a duplicate of the selected block and insert it below the original block.
- Insert before: Click on this option if you can insert a new block before the selected block.
- Insert after: Click on this option if you want to insert a new block after the selected block.
- Move to: This option allows you to move the selected block to a different location within your post or page.
- Copy styles: It lets you copy the styles (such as font size, color, and spacing) of the selected block.
- Paste styles: This option allows you to apply the copied styles to another block.
- Lock: This option allows you to lock a block so that it cannot be edited or deleted.
- Create reusable block: This option allows you to save the selected block as a reusable block, which you can then insert into other posts or pages.
- Group: This option allows you to group multiple selected blocks together and apply styles to the entire group.
- Move custom HTML: This option allows you to move a custom HTML block to a different location within your post or page.
Use HTML Block settings
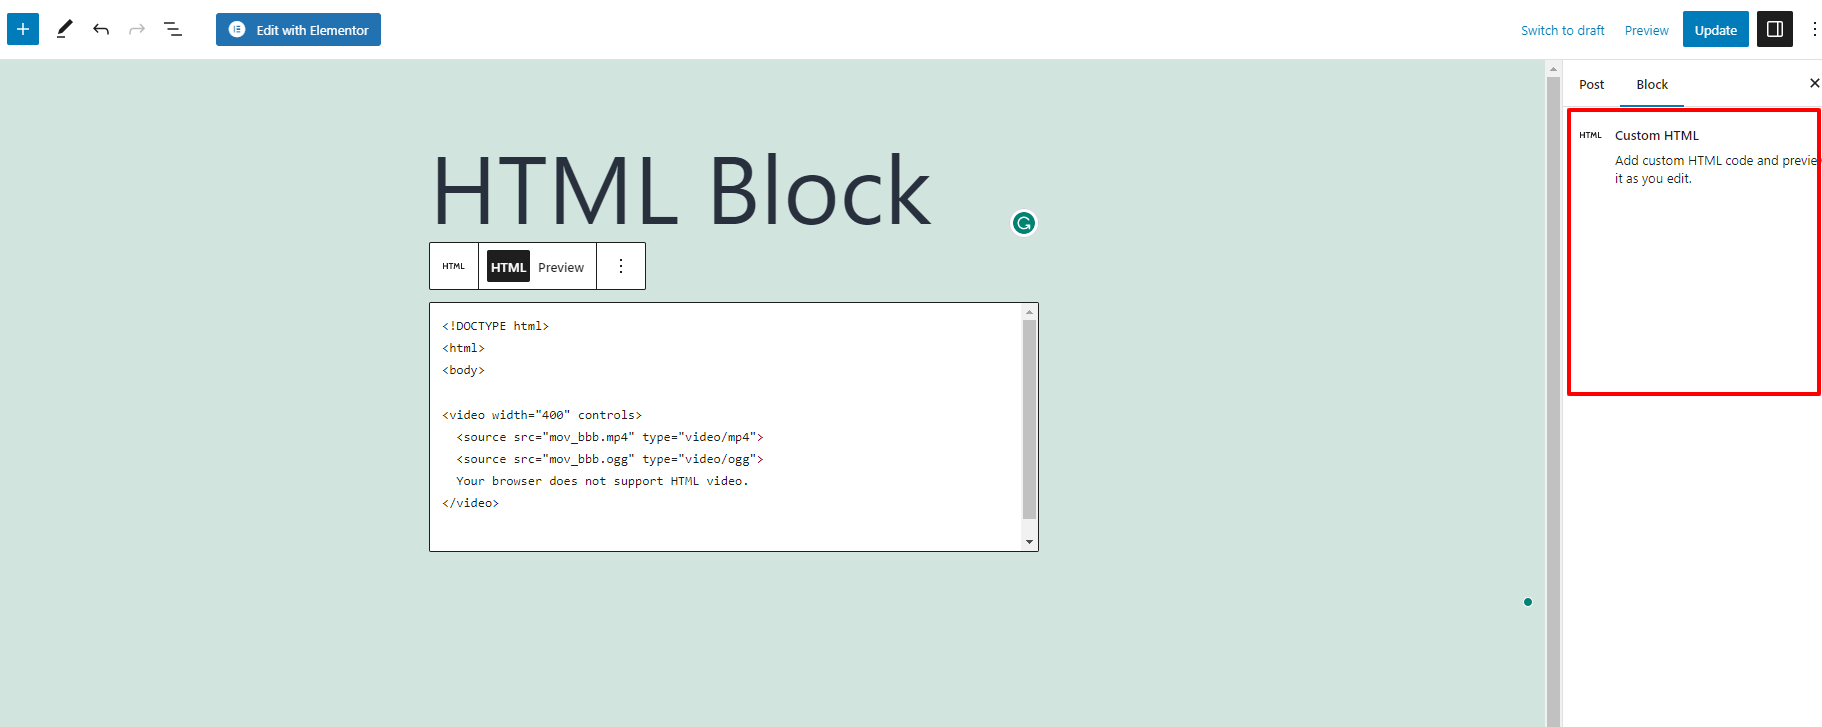
The biggest difference between the HTML block and other blocks is that the Custom HTML block doesn’t include settings options in the right sidebar. All setting options will be displayed in the toolbar.
The bottom line
The Custom HTML block in Gutenberg can be a powerful tool for adding custom code snippets, embeds, or HTML markup to your blog or website. By using this block, you can add custom functionality, design elements, or interactive content to your posts or pages. Hopefully, our blog can help you use the Gutenberg HTML block effectively. If you are interested in our blog, don’t forget to share it with your friend. Moreover, feel free to leave a comment if you have any queries.
Further, you can visit our website to discover tons of stunning, responsive, free WordPress Themes on our website. They will help you set up a beautiful website without coding knowledge.

Hello everyone! We’re Galussothemes content team, we love to write new blogs for WordPress Joomla! and other tech niches everyday. We’re talented young people who hold a strong passion for website development, designing, and marketing. Feel free to leave your comment if you have any issues or questions with our blogs.

