You sell a T-shirt in four sizes and three colours, and the XL costs a little more. Creating twelve separate products would be a mess for you and for your customers. WooCommerce has a built-in answer: the variable product, one product page with dropdowns for size and colour, where every combination can have its own price, SKU, stock level and photo.
This guide walks through setting up a variable product from scratch with WooCommerce’s own tools, no extra plugin needed. It covers global attributes, generating variations, pricing and stock per variation, bulk editing, and the problems store owners run into most often.
How variable products work
Attributes hold the options, terms the values, and each variation is one combination you sell
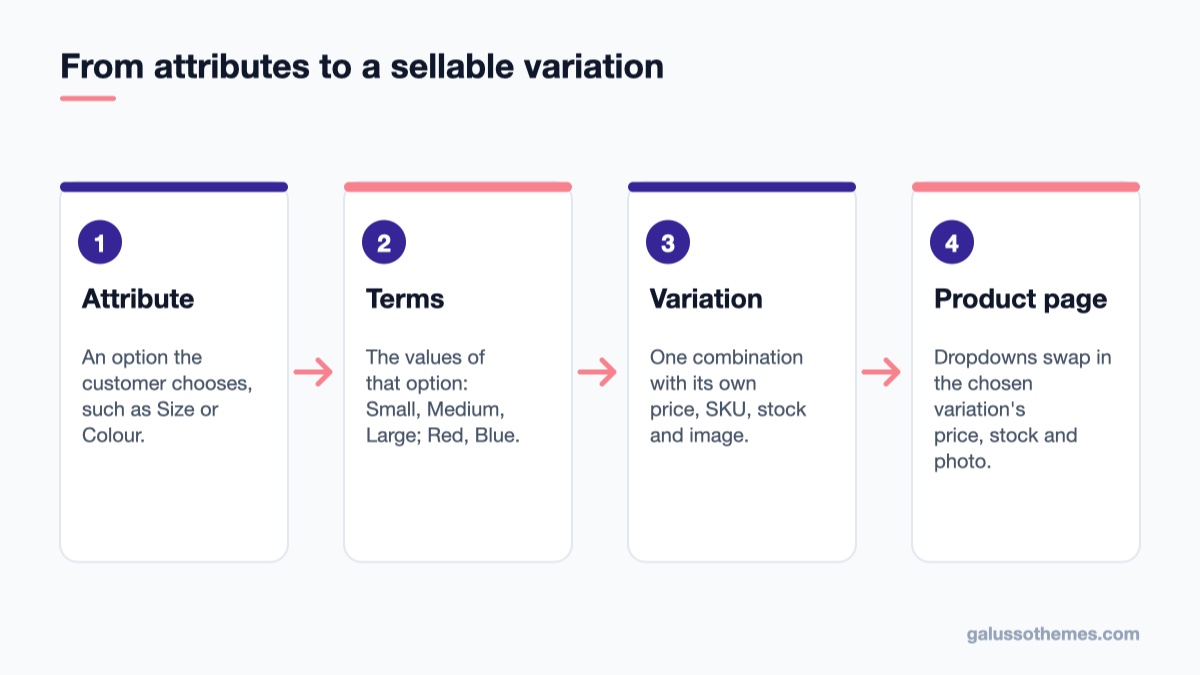
Three building blocks make up every variable product:
Attributes are the options a customer chooses from, such as Size or Colour.
Terms are the values of an attribute: Small, Medium, Large; Red, Blue, Black.
Variations are the actual combinations you sell, such as “Medium / Blue”. Each variation is its own item with a price, SKU, stock and image.
The product page shows one dropdown (or swatch, with some themes and plugins) per attribute. When the customer picks a combination, WooCommerce swaps in that variation’s price, stock status and image, and adds exactly that variation to the cart.
Step 1: create global attributes
You can type attributes directly on a product, but for options you will reuse across many products, such as Size and Colour, create global attributes first. They keep spelling consistent and they power the layered filters customers use on shop pages.
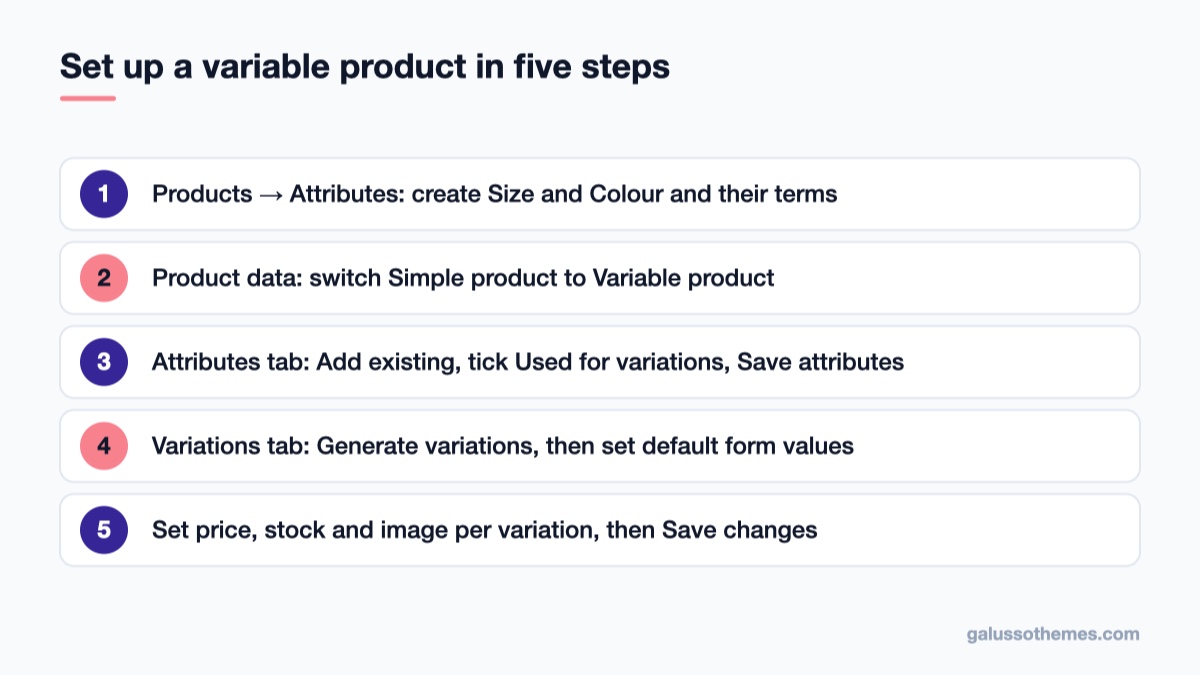
Go to Products → Attributes.
Enter a Name, for example Size. The Slug fills in automatically.
Leave Enable archives unchecked unless you want a public page listing all products for each term.
Choose a Default sort order. Custom ordering lets you drag terms into a logical order, so sizes show S, M, L, XL instead of alphabetical L, M, S, XL.
Click Add attribute, then Configure terms next to it and add each value: Small, Medium, Large, XL.
Repeat for Colour. Good term names matter: they appear on the product page, in the cart, in order emails and in filters, so use the words your customers use.
Step 2: make the product variable and add attributes
The whole setup uses WooCommerce's built-in tools, no plugin needed
Go to Products → Add New (or edit an existing product) and enter the title, description and main image as usual.
In the Product data box, change the dropdown from Simple product to Variable product.
Open the Attributes tab and click Add existing. Choose Size, then select the terms this product comes in. Not every product needs every term.
Tick Used for variations. Without this tick the attribute is only shown as product information and will not create dropdowns.
Add Colour the same way, then click Save attributes.
Attributes you add but do not use for variations, such as Material: 100% cotton, appear in the product’s Additional information tab. That is a handy place for specifications.
Step 3: create the variations
Open the Variations tab. You have two choices:
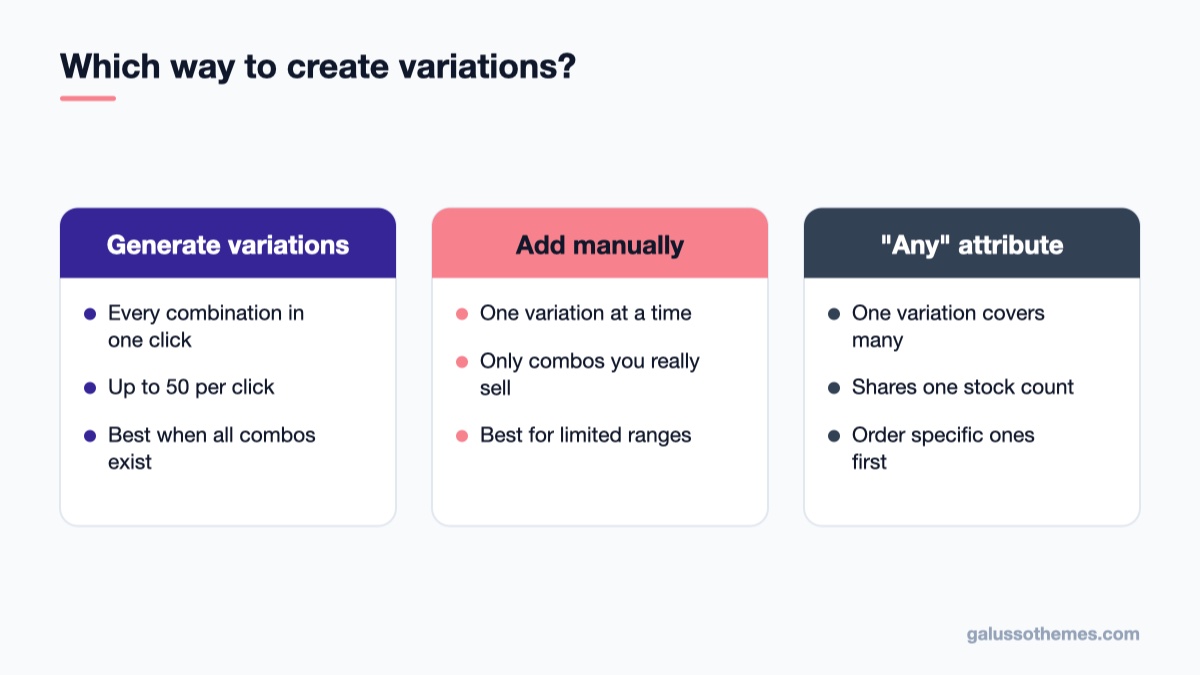
Generate variations creates every combination of the attributes you ticked for variations. Four sizes and three colours give twelve variations in one click. WooCommerce creates up to 50 variations per click, which is plenty for most products.
Add manually creates one variation at a time. Use it when only some combinations exist, for example when the XL is only made in black.
At the top of the tab you can also set default form values: the combination that is pre-selected when the page loads. Pre-selecting your best-selling option shows a price straight away instead of a price range, which some customers find clearer.
Step 4: set price, stock and image for each variation
Click a variation to expand it. The fields that matter most:
Regular price: required. A variation without a price is not purchasable and its combination shows as unavailable.
Sale price, with optional schedule dates.
SKU and, if you use them, GTIN/UPC/EAN/ISBN codes. Unique SKUs per variation make stock counts and fulfilment far easier.
Manage stock?: tick it to track a stock quantity for this exact variation and choose whether to allow backorders.
Weight, dimensions and shipping class: useful when a larger size ships differently. If you use shipping classes, our guide to WooCommerce shipping zones and classes explains how they affect rates.
Image: click the image placeholder and choose a photo of that colour. This is the single most effective thing you can do for conversions on a variable product.
Enabled: untick to hide a variation temporarily without deleting it.
Click Save changes at the bottom of the Variations tab before leaving the tab, then Publish or Update the product.
Save time with bulk actions
Pick the method that matches how your product is really made
Editing twelve or forty variations one by one is slow. The dropdown above the variation list offers bulk actions that apply to all variations at once, including:
Set regular prices and Set sale prices, plus increase or decrease prices by a fixed amount or percentage.
Toggle “Manage stock” and set stock quantities.
Set stock status, for example In stock or Out of stock.
Set weights, dimensions and shipping class.
A fast workflow: generate all variations, use a bulk action to give them the same base price, then open only the few that differ (the XL, the premium colour) and adjust them individually.
The “Any” option and when to use it
When you add a variation manually, each attribute dropdown also offers Any Size… or Any Colour…. A variation set to “Any Colour” matches every colour for its size. This can reduce a product with many colours to a handful of variations when price and stock do not depend on colour.
Use it with care. WooCommerce matches variations in their listed order, so put specific combinations above general “Any” ones, and remember an “Any” variation shares one stock count across all the combinations it covers. If you track stock per colour, create real variations instead.
Large products: the 30-variation threshold
Load more variations with the page so unavailable options grey out instantly
For products with 30 variations or fewer, WooCommerce loads all variation data with the product page, so the page can instantly grey out combinations that do not exist or are out of stock. Above 30, it loads each variation only when the customer picks a full combination, which keeps big products fast but means unavailable combinations are only flagged after selection.
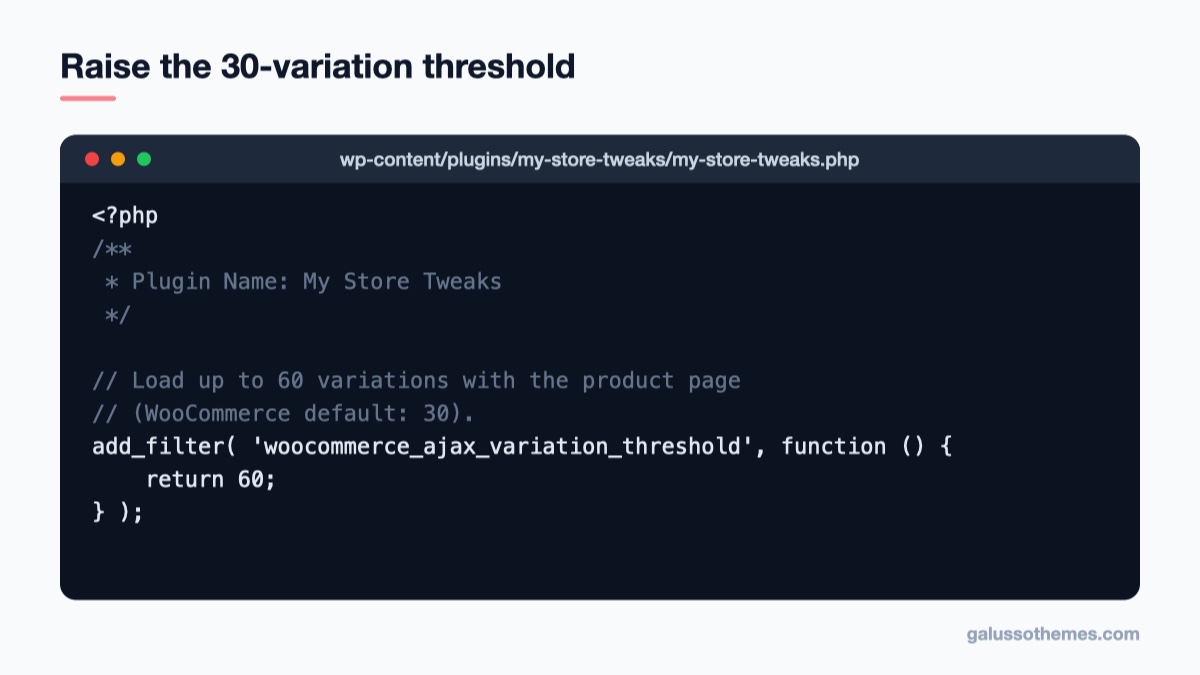
Developers can change the limit with the woocommerce_ajax_variation_threshold filter, for example in a small custom plugin:
add_filter( 'woocommerce_ajax_variation_threshold', function () {
    return 60;
} );
Raise it only as far as you need. Loading hundreds of variations on every page view makes product pages heavier.
Plan your variations before you build
Ten minutes of planning saves hours of editing later. Before you open the product editor, write down three things for each product:
Which options really change what you ship. Size and colour usually do. A gift message or engraving usually does not; that is an add-on, not a variation, and it does not need its own stock count.
Which combinations exist. If every colour comes in every size, generate all variations. If the range is patchy, add the real combinations manually so customers never pick something you cannot send.
Where prices differ. Often only one or two sizes cost more. Note those so you can set one bulk price and adjust just the exceptions.
Also agree on a SKU pattern before you start, for example TEE-BLU-M for a medium blue T-shirt. A consistent pattern makes stock counts, supplier orders and packing much easier as the catalogue grows.
If you are adding many variable products at once, WooCommerce’s built-in CSV importer under Products → Import can create parent products and their variations from a spreadsheet. Export one finished variable product first with Products → Export and use that file as your template, so the columns and attribute names match exactly.
Common problems and fixes
The dropdowns do not appear
Check that the product type is Variable product, that each attribute has Used for variations ticked, and that at least one variation is enabled and has a regular price.
“This product is currently out of stock and unavailable”
Every variation is either out of stock, disabled or missing a price. Open the Variations tab and look for variations without a price first; that is the most common cause.
The price shows as a range like $20 – $28
That is normal when variations have different prices. Set default form values so one combination is pre-selected, and the page shows that variation’s price as soon as it loads.
Changes to variations disappear
Variations save separately from the main product. Click Save changes inside the Variations tab before you update the product or switch tabs.
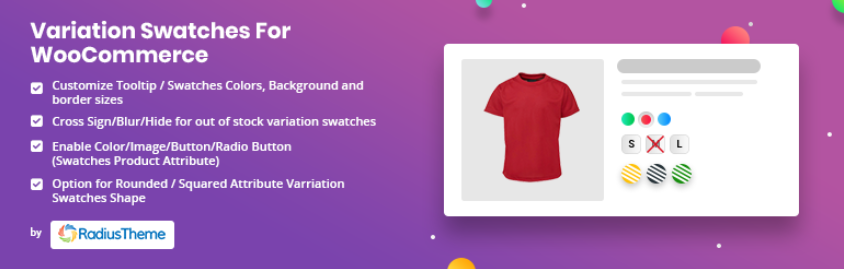
Customers want swatches instead of dropdowns
Dropdowns are WooCommerce’s default. Colour and image swatches come from your theme or a plugin; our round-up of WooCommerce product variations plugins covers popular options, and if you need extra paid options such as gift wrapping or engraving rather than true variations, see extra product options plugins.
A theme that shows variations well
Variable products look best in a theme with a clean product page, large gallery images and clear add-to-cart areas. Our WooCommerce-ready themes are built for exactly that: GT Watches suits products with several finishes or strap colours, and Parfum works well for products sold in different sizes, such as fragrances and cosmetics. Browse more in our free WordPress themes.
Wrapping up
Create Size and Colour as global attributes once, switch the product to Variable product, tick Used for variations, generate the combinations, then use bulk actions for prices and stock and add a photo to each colour. Check one variation on the live page, add it to the cart, and you are ready to sell. For every field and option, see WooCommerce’s official variable product documentation and the guide to managing product attributes.
Hello everyone! We’re Galussothemes content team, we love to write new blogs for WordPress Joomla! and other tech niches everyday. We’re talented young people who hold a strong passion for website development, designing, and marketing. Feel free to leave your comment if you have any issues or questions with our blogs.
Interesting with this topic? You also interest with this articles: